
Optional Settings
The Optional Settings category provides additional features and optimizations that you can choose to apply to your Proxmox VE installation. These settings are not essential but can enhance your system's capabilities in specific scenarios.
Available Optional Features
Add Latest Ceph Support
This option installs the latest Ceph storage system support for Proxmox VE. Ceph is a distributed storage system that provides high performance, reliability, and scalability.
What it does:
- Adds the Ceph repository to your system
- Updates package lists
- Installs Ceph packages using the 'pveceph install' command
- Verifies the installation
How to use: After installation, you can configure and manage Ceph storage using the Proxmox VE web interface or command-line tools.
This adjustment automates the following commands:
# On Proxmox VE 9 (Debian trixie) — deb822 format
cat > /etc/apt/sources.list.d/ceph.sources <<'EOF'
Types: deb
URIs: http://download.proxmox.com/debian/ceph-squid
Suites: trixie
Components: no-subscription
Signed-By: /usr/share/keyrings/proxmox-archive-keyring.gpg
EOF

# On Proxmox VE 8 (Debian bookworm) — legacy one-liner
# echo "deb https://download.proxmox.com/debian/ceph-squid $(lsb_release -cs) no-subscription" \
#   > /etc/apt/sources.list.d/ceph-squid.list

# Update package lists
apt-get update

# Install Ceph
pveceph install

# Verify installation
pveceph status
Apply AMD CPU Fixes
This option applies specific fixes for AMD EPYC and Ryzen CPUs to improve stability and compatibility.
What it does:
- Detects if an AMD EPYC or Ryzen CPU is present
- Applies kernel parameter 'idle=nomwait' to prevent random crashes (via /etc/kernel/cmdline on systemd-boot hosts, or /etc/default/grub on GRUB hosts — with a .bak of the original)
- Configures KVM to ignore certain MSRs (Model Specific Registers) for better Windows guest compatibility
How to use: These fixes are applied automatically and require a system reboot to take effect.
This adjustment automates the following commands:
# Set kernel parameter — GRUB path
sed -i 's/GRUB_CMDLINE_LINUX_DEFAULT="/GRUB_CMDLINE_LINUX_DEFAULT="idle=nomwait /g' /etc/default/grub
update-grub

# Set kernel parameter — systemd-boot path (ZFS-on-root)
# Adds 'idle=nomwait' to /etc/kernel/cmdline and runs:
# proxmox-boot-tool refresh

# Configure KVM
echo "options kvm ignore_msrs=Y" >> /etc/modprobe.d/kvm.conf
echo "options kvm report_ignored_msrs=N" >> /etc/modprobe.d/kvm.conf
Enable High Availability Services
This option enables High Availability (HA) services in Proxmox VE, allowing for automatic failover of VMs and containers in case of node failure.
What it does:
- Enables and starts the pve-ha-lrm (Local Resource Manager) service
- Enables and starts the pve-ha-crm (Cluster Resource Manager) service
- Enables and starts the corosync service for cluster communication
How to use: After enabling these services, you can configure HA groups and resources in the Proxmox VE web interface.
This adjustment automates the following commands:
systemctl enable --now pve-ha-lrm pve-ha-crm corosync
Update Proxmox VE Appliance Manager
Refreshes the local index of container templates that pveam exposes in the Proxmox UI, so the list of available appliances is up to date the next time you create an LXC.
What it does:
- Runs
pveam updateagainst the Proxmox mirrors to fetch the current appliance catalogue - Populates the appliance list shown by the web UI when creating a container
How to use: run it once when the appliance list in the UI feels stale, or after switching mirrors. It does not download the templates themselves — only the catalogue index.
This adjustment automates the following command:
pveam update
Install and Configure Fastfetch
This option silently installs and configures Fastfetch, a system information tool that displays system specs and a custom logo at login.
What it does:
- Silently downloads and installs the latest version of Fastfetch
- Allows you to choose a custom logo (ProxMenux, Proxmox, Helper-Scripts, Home-Labs-Club, Proxmology, or a custom one)
- Configures Fastfetch to display "System optimised by ProxMenux"
- Sets up Fastfetch to run automatically at console login
Important:
If you connect to Proxmox via SSH, you should select the Proxmox logo or create a custom one using jp2a or img2txt. The other logos are generated using chafa and may not display correctly in a standard SSH session.
Custom Logos:
To use a custom logo, place your ASCII art text file in: /usr/local/share/fastfetch/logos/
You can create custom logos using tools like chafa, jp2a, or img2txt.
For best results:
- Keep the logo height to 35 lines or less to maintain proportions and fit in the terminal
- Use
chafafor color logos (may not display correctly in SSH sessions) - Use
jp2aorimg2txtfor SSH-compatible logos
Example Logos:
ProxMenux

Proxmox
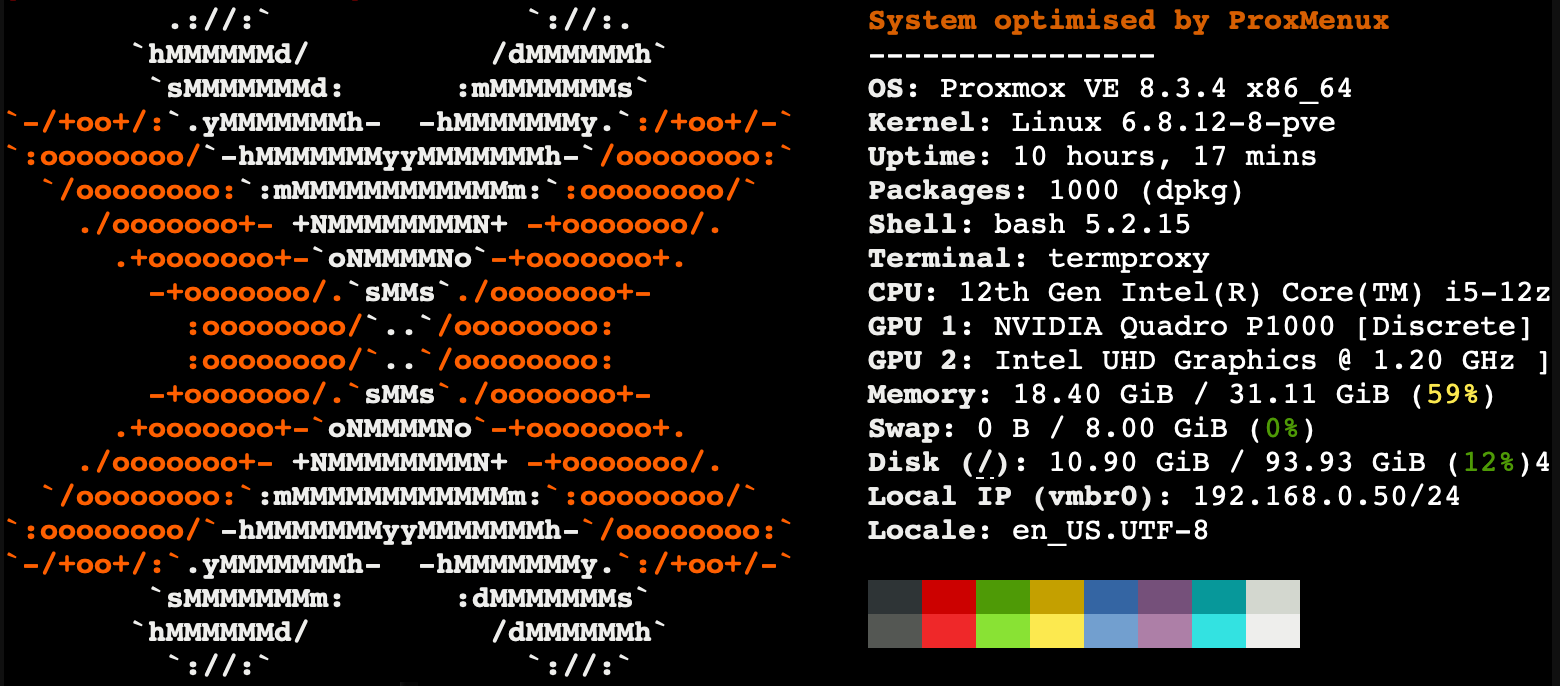
JC Channel
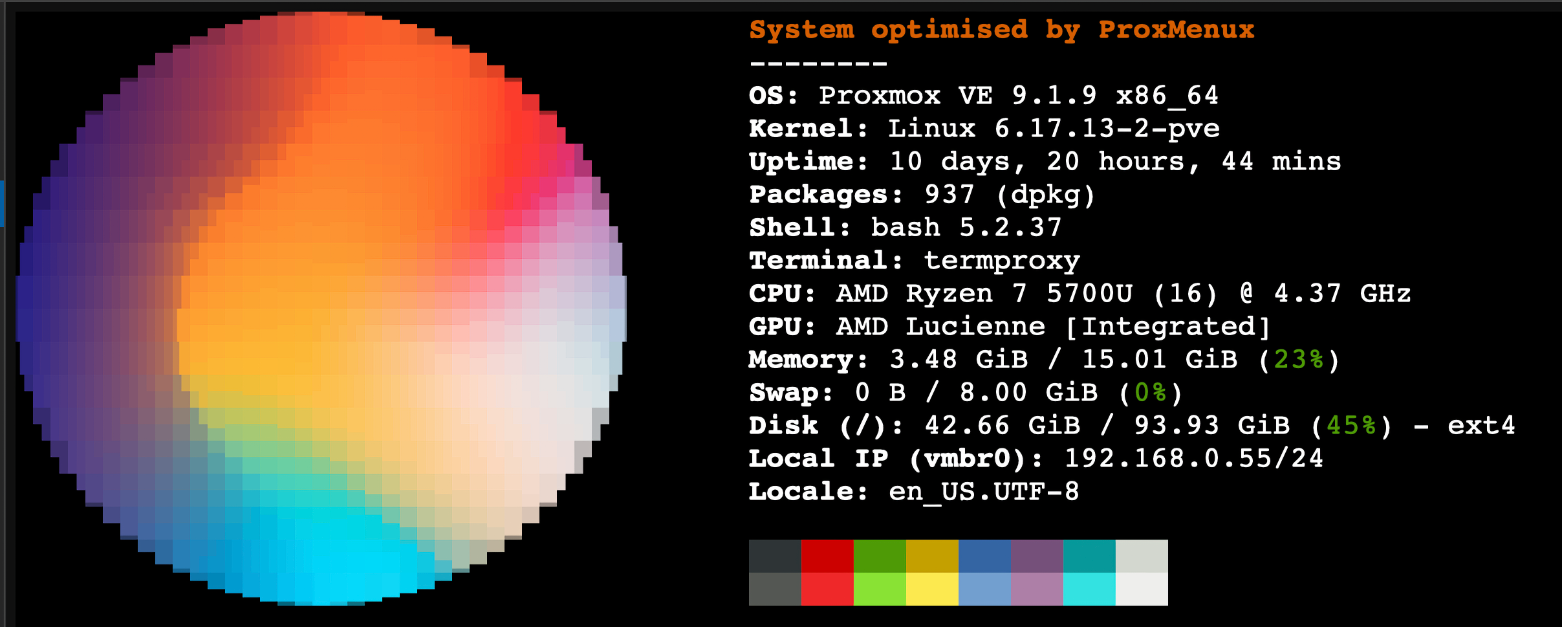
Helper-Scripts
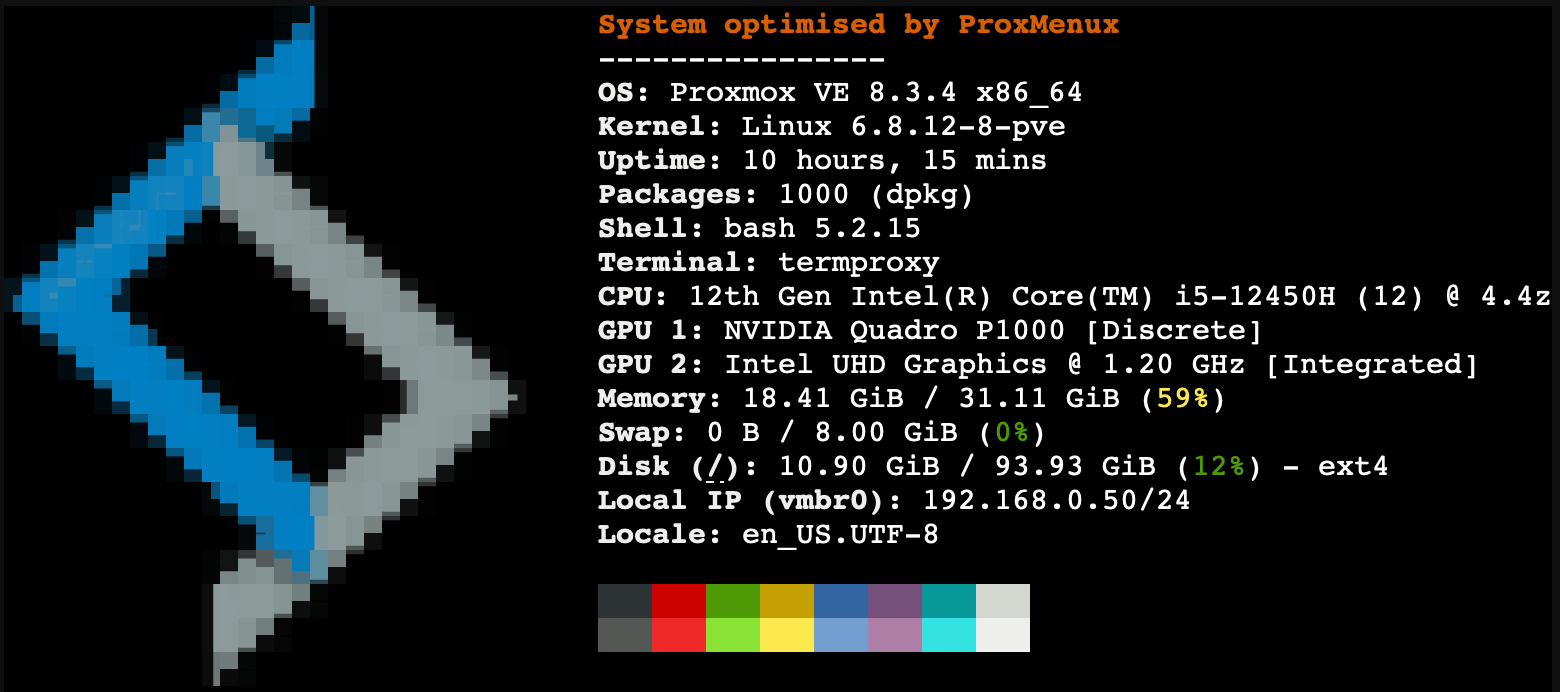
Home-Labs-Club
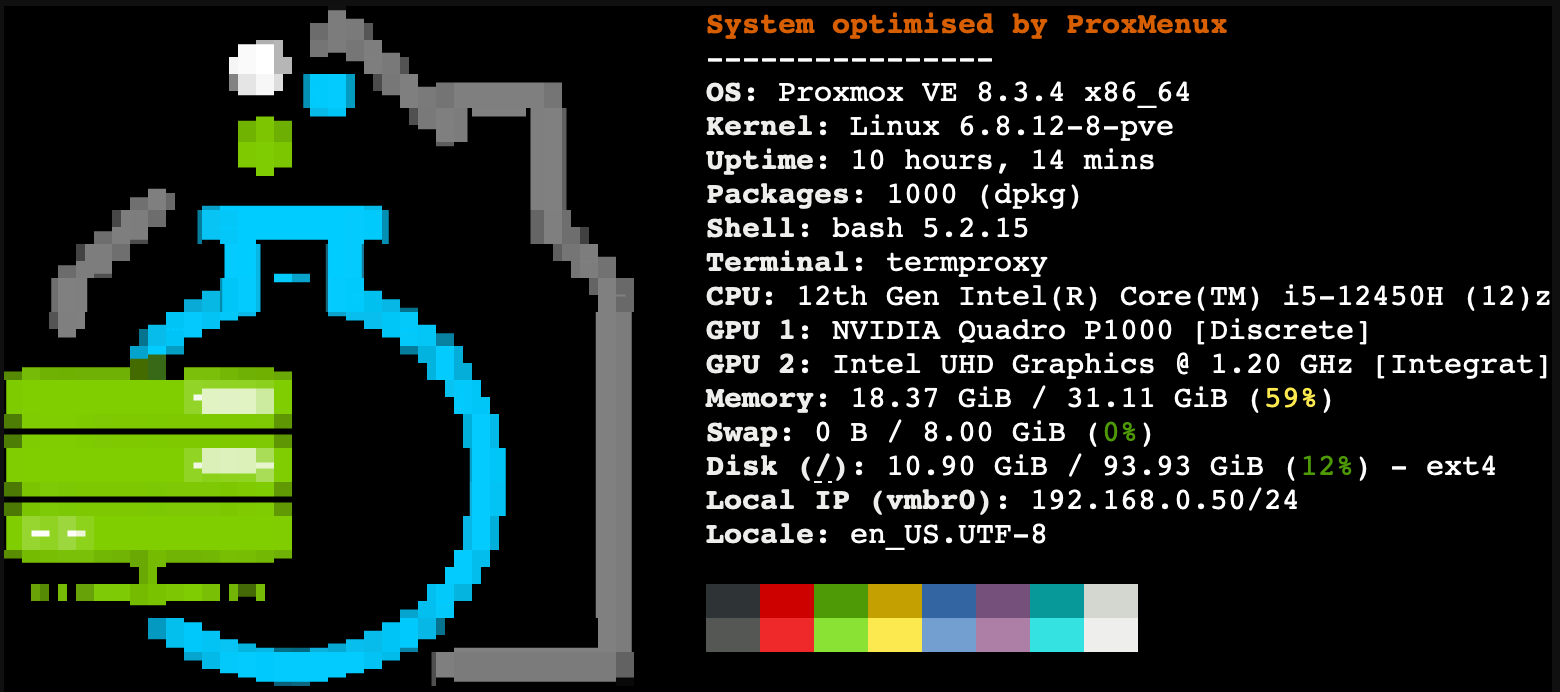
Proxmology

This adjustment automates the following commands:
# Remove any previous install so the newest .deb lands clean
apt-get remove --purge -y fastfetch 2>/dev/null
rm -f /usr/bin/fastfetch /usr/local/bin/fastfetch

# Download and install the latest .deb via the GitHub Releases API
FASTFETCH_URL=$(curl -sSf --connect-timeout 5 --max-time 15 \
  https://api.github.com/repos/fastfetch-cli/fastfetch/releases/latest \
  | jq -r '.assets[] | select(.name | test("fastfetch-linux-amd64.deb")) | .browser_download_url')
wget -q -O /tmp/fastfetch.deb "$FASTFETCH_URL"
dpkg -i /tmp/fastfetch.deb
apt-get install -f -y

# Configure Fastfetch (logo selection remains interactive)
# The configuration is done through a series of jq commands.
# A custom "System optimised by ProxMenux" line is prepended
# to the modules array so it shows above the standard sections.

# Wire Fastfetch into ~/.bashrc — inside a marker block so the
# same block can be replaced on re-run without polluting the file.
# The block is guarded so it only runs on interactive shells that
# actually have the fastfetch binary available.
cat >> ~/.bashrc <<'EOF'
# BEGIN FASTFETCH
if [[ $- == *i* ]] && command -v fastfetch >/dev/null 2>&1; then
    clear
    fastfetch
fi
# END FASTFETCH
EOF
Install and Configure Figurine
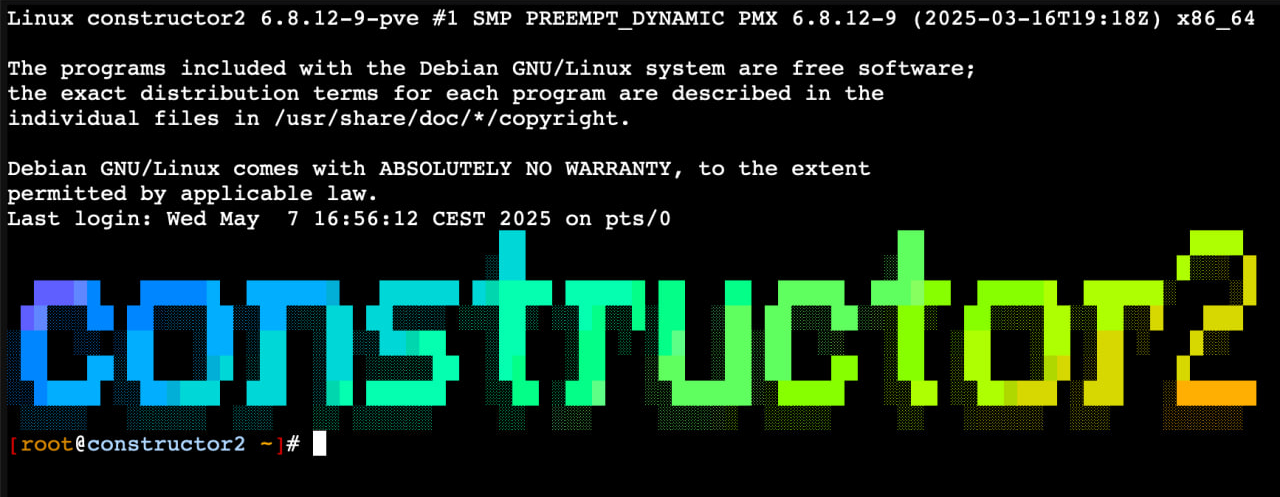
This option installs and configures Figurine, a tool that creates stylish ASCII text banners for your terminal, displaying your hostname in a visually appealing 3D format.
What it does:
- Downloads and installs Figurine v2.0.0 from GitHub
- Creates a welcome message that displays your hostname in 3D ASCII art when you log in
- Automatically removes any previous Figurine installation if present
- Sets up the welcome message to run automatically at login
Practical Use:
When managing multiple Proxmox nodes in a cluster, Figurine provides an immediate visual indication of which node you're currently logged into. This helps prevent accidental commands on the wrong node and improves your workflow when managing multiple servers.
Example Output:
This adjustment automates the following process:
# Check for previous installation and remove if found
if command -v figurine &> /dev/null; then
  rm -f "/usr/local/bin/figurine"
fi

# Download and install Figurine
version="2.0.0"
file="figurine_linux_amd64_v${version}.tar.gz"
url="https://github.com/arsham/figurine/releases/download/v${version}/${file}"
wget -qO "/tmp/${file}" "${url}"
tar -xf "/tmp/${file}" -C "/tmp"
mv "/tmp/deploy/figurine" "/usr/local/bin/figurine"
chmod +x "/usr/local/bin/figurine"

# Create welcome message script
cat << 'EOF' > "/etc/profile.d/figurine.sh"
/usr/local/bin/figurine -f "3d.flf" $(hostname)
EOF
chmod +x "/etc/profile.d/figurine.sh"
After installation, you'll see your hostname displayed in 3D ASCII art each time you log in, making it immediately clear which Proxmox node you're working on.
Install Log2RAM (SSD/NVMe wear reduction)
Log2RAM mounts /var/log on a tmpfs ramdisk and periodically syncs the contents back to the underlying disk. On a hypervisor journald churn hits the root SSD every few seconds; moving the writes to RAM reduces wear and disk I/O without losing logs — the periodic sync flushes them to disk and a clean shutdown flushes them too.
Upstream project:azlux/log2ram on GitHub
What ProxMenux does:
- Detects whether the root disk is SSD/NVMe by reading
/sys/block/<dev>/queue/rotational. On a rotational disk the Automated flow asks first before installing. - Clones the upstream repository (
azlux/log2ram) into/tmp/log2ramand patches itsinstall.sh, replacingrsync -aAXvwithrsync -aXv --no-acls. That adjustment avoids the set_acl: Operation not supported exit 23 failure that the vanilla script triggers when moving /var/log on filesystems without ACL support. Thelog2ramsystemd unit is enabled after install. - Sizes the ramdisk based on host RAM:
≤ 8 GB → 128M,≤ 16 GB → 256M,> 16 GB → 512M. Writes the value toSIZE=in/etc/log2ram.conf. - Schedules a periodic disk sync via
/etc/cron.d/log2ram: every 1h / 3h / 6h according to the same RAM tier. - Installs an auto-sync guard at
/usr/local/bin/log2ram-check.sh, wired to/etc/cron.d/log2ram-auto-syncto run every 10 minutes. When/var/logreaches 80% of the ramdisk size the guard vacuums journald; at 92% it first runslogrotate -f /etc/logrotate.d/proxmox-backup-apiwhen that file exists (forcing rotation of the PBS API logs, typically the largest consumer on a host running PBS) and then truncatespveproxy access/errorandpveam.logbefore syncing. The plainlog2ram writecommand copies tmpfs to disk but does NOT shrink the tmpfs, so this guard prevents PVE from crashing with No space left on device when logs grow uncontrolled. - Detects whether
proxmox-backup-serverruns as a service on the host. When present, drops/etc/logrotate.d/proxmox-backup-api(20 MB × 3 rotation) and/etc/cron.hourly/proxmox-backup-logrotate, so the PBS API logs — the usual source of growth on a PBS host — stay bounded even between Log2RAM's periodic syncs. On hosts without PBS this step is a no-op. - Adjusts systemd-journald limits (
SystemMaxUse,RuntimeMaxUse) to fit within the ramdisk so a single burst cannot fill it. - Registers itself in
installed_tools.jsonso it can be reverted from Uninstall Optimizations.
How to use: On the Automated flow Log2RAM applies unattended when an SSD/NVMe root is detected. On the Customizable flow the script prompts for size, sync interval and whether to enable the 90% auto-sync guard.
Verify and manage from the shell:
# Service state and configured timers
systemctl status log2ram
systemctl list-timers log2ram*

# Current ramdisk usage — /var/log IS the tmpfs itself
df -h /var/log

# Force a sync now (tmpfs → disk); does NOT shrink the tmpfs
log2ram write

# Trigger the auto-sync guard on demand (vacuum + sync when usage is high)
/usr/local/bin/log2ram-check.sh

# Current config: SIZE, mail settings, path
cat /etc/log2ram.conf

# ProxMenux-specific cron jobs
cat /etc/cron.d/log2ram /etc/cron.d/log2ram-auto-sync

# Recent Log2RAM activity
journalctl -u log2ram -n 50 --no-pager
Automatic Application
These optional features are applied only when specifically selected during the post-install process. Each feature can be individually chosen based on your specific needs and preferences.