Post-Install: Basic Settings
What this category covers
Update and upgrade system
Reconfigures APT to use the free pve-no-subscription repository (instead of the enterprise repo that requires a subscription) and runs a full system upgrade. The exact steps depend on the Proxmox VE major version: ProxMenux detects it and dispatches to the right script.
| PVE version | Dispatcher script | Debian codename |
|---|---|---|
| 9.x | update-pve9_2.sh | trixie |
| 8.x | update-pve8.sh | bookworm |
The official Proxmox recommendation
Proxmox's own upgrade guidance is to run, in this exact order:
apt update && apt full-upgrade -yThat single line is all you need on any current Proxmox release. The challenge isn't the command itself — it's making sure the repositories on the host are sane before running it.
What the ProxMenux option does — verified against the script
The ProxMenux update wraps the exact apt commands above and adds a number of pre/post steps you would otherwise have to remember by hand. Every item below is what the dispatcher script actually does (see Proxmox System Update for the full breakdown):
- Repository hygiene first. Disables the enterprise
pve-enterprise.sources/ceph.sources, removes legacy repo files left over from previous PVE versions, and writes a cleanproxmox.sourcespointing at the free pve-no-subscription channel (matching the host's Debian codename: trixie for PVE 9, bookworm for PVE 8). - Debian repos rewritten with main / updates / security, including
non-free-firmware, so the firmware warning during upgrade goes away. - Runs the official upgrade.
apt-get updatefollowed byapt full-upgrade -y(PVE 9) orapt dist-upgrade -y(PVE 8), both launched non-interactively with--force-confdef --force-confoldso any configuration files you customised stay yours. - Installs essential packages if they are missing:
zfsutils-linux,proxmox-backup-restore-image,chrony. - LVM metadata sanity check. Looks for VMs with disk passthrough that may have scribbled stale physical-volume headers onto raw disks; warns if anything is off (no automatic fix).
- Cleans up afterwards:
apt-get autoremove -y+apt-get autoclean -y, then prompts for a reboot if the kernel was updated or/var/run/reboot-requiredis present.
In short
apt update && apt full-upgrade -y Proxmox recommends, wraps it with the repo hygiene and post-upgrade cleanup that the official guide also tells you to do, and prompts for the reboot at the end. See Proxmox System Update — the same updater is also available as a standalone utility in the main menu, with the full process diagram.Don't apply to a subscribed host
Post-update safety check
pvs to inspect. No action is taken automatically.Synchronize time automatically
Detects the server's public IP via dig myip.opendns.com @resolver1.opendns.com, then queries ipapi.co/{ip}/timezone to look up the matching IANA timezone, and applies it with timedatectl set-timezone. Finally enables NTP with timedatectl set-ntp true.
Depends on two external services
ipapi.co being reachable, and on their responses being correct. If you run Proxmox behind a VPN or on a VLAN that egresses from a different region, the auto-detected timezone may be wrong. In that case skip this option and set the timezone by hand:# Manual alternative — pick your IANA zone
timedatectl list-timezones | grep -i europe # e.g. Europe/Madrid
timedatectl set-timezone Europe/Madrid
timedatectl set-ntp true
timedatectl # verifyReversible from the Uninstall menu
Skip downloading additional languages
On every apt update, Debian by default pulls translation files for every locale it ships — a lot of traffic and disk space for something you'll rarely see. This option tells APT to only fetch the main metadata. Before disabling, ProxMenux makes sure the host's own locale is actually generated (reads /etc/default/locale or /etc/environment, appends to /etc/locale.gen if missing, and runs locale-gen). So you don't lose your shell locale as a side effect.
What gets written
# /etc/apt/apt.conf.d/99-disable-translations
Acquire::Languages "none";
Reversible from the Uninstall menu
/etc/apt/apt.conf.d/99-disable-translations (either manually or from the Uninstall menu) restores the default behaviour and APT downloads language files again.Install common system utilities
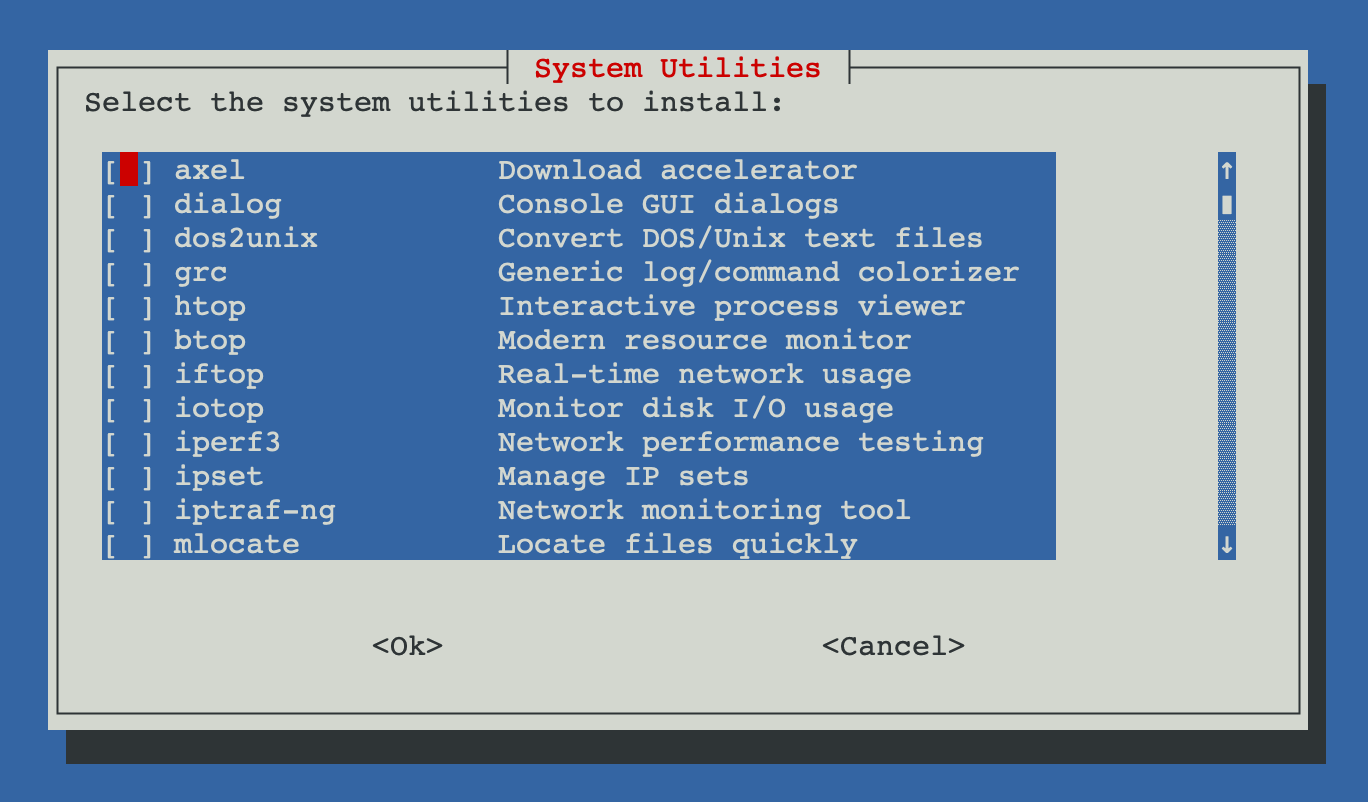
Opens a checklist with 25 curated utilities organised into groups. Pick the ones you want, confirm, and ProxMenux installs each via apt, verifying the package worked and showing a summary at the end.
Same list is reused elsewhere
PROXMENUX_UTILS in scripts/global/utils-install-functions.sh). The Utilities and Tools → System Utilities menu on the main ProxMenux menu exposes the same list, so you can come back later and install more without re-running post-install.What's in the list
System monitors
- htop
- Interactive process viewer
- btop
- Modern resource monitor (CPU, RAM, disks, net, processes)
- s-tui
- Terminal-based CPU stress & monitoring UI
- iftop
- Live per-connection bandwidth usage
- iotop
- Per-process disk I/O
- iptraf-ng
- Interactive IP LAN monitor
Network
- iperf3
- Measure maximum achievable bandwidth between hosts
- net-tools
- Legacy tools (ifconfig, netstat, route). Still handy for quick checks.
- ipset
- Manage large IP sets in the kernel — useful with iptables/nftables rules.
Download and archive
- axel
- Lightweight parallel download accelerator
- aria2
- Multi-source / multi-protocol downloader (HTTP, FTP, BitTorrent, Metalink)
- unzip
- Extract ZIP archives
- zip
- Create ZIP archives
- cabextract
- Extract Microsoft CAB archives (handy when working with Windows ISOs)
- wimtools
- Manipulate Windows WIM images (extract, split, mount, apply)
- genisoimage
- Build ISO 9660 images from a directory tree
Text and files
- dos2unix
- Convert CRLF (Windows) to LF (Unix) line endings
- grc
- Generic colouriser — wraps ping, traceroute, dig, tail, etc. with syntax highlighting
- plocate
- Fast file search (indexed). Run `updatedb` after install to build the index.
Remote and sessions
- sshpass
- Non-interactive SSH password auth — useful for scripts, not for daily use
- tmux
- Terminal multiplexer — detach sessions, split panes, survive disconnects
Hardware and low-level
- msr-tools
- Read/write CPU model-specific registers (rdmsr, wrmsr)
- intel-gpu-tools
- Intel GPU diagnostic utilities including `intel_gpu_top`
Virtualization
- libguestfs-tools
- Inspect and modify VM disk images (virt-ls, virt-cat, guestmount…)
- chntpw
- Edit Windows SAM — useful for password recovery on Windows VMs you inherit
A few of them in action
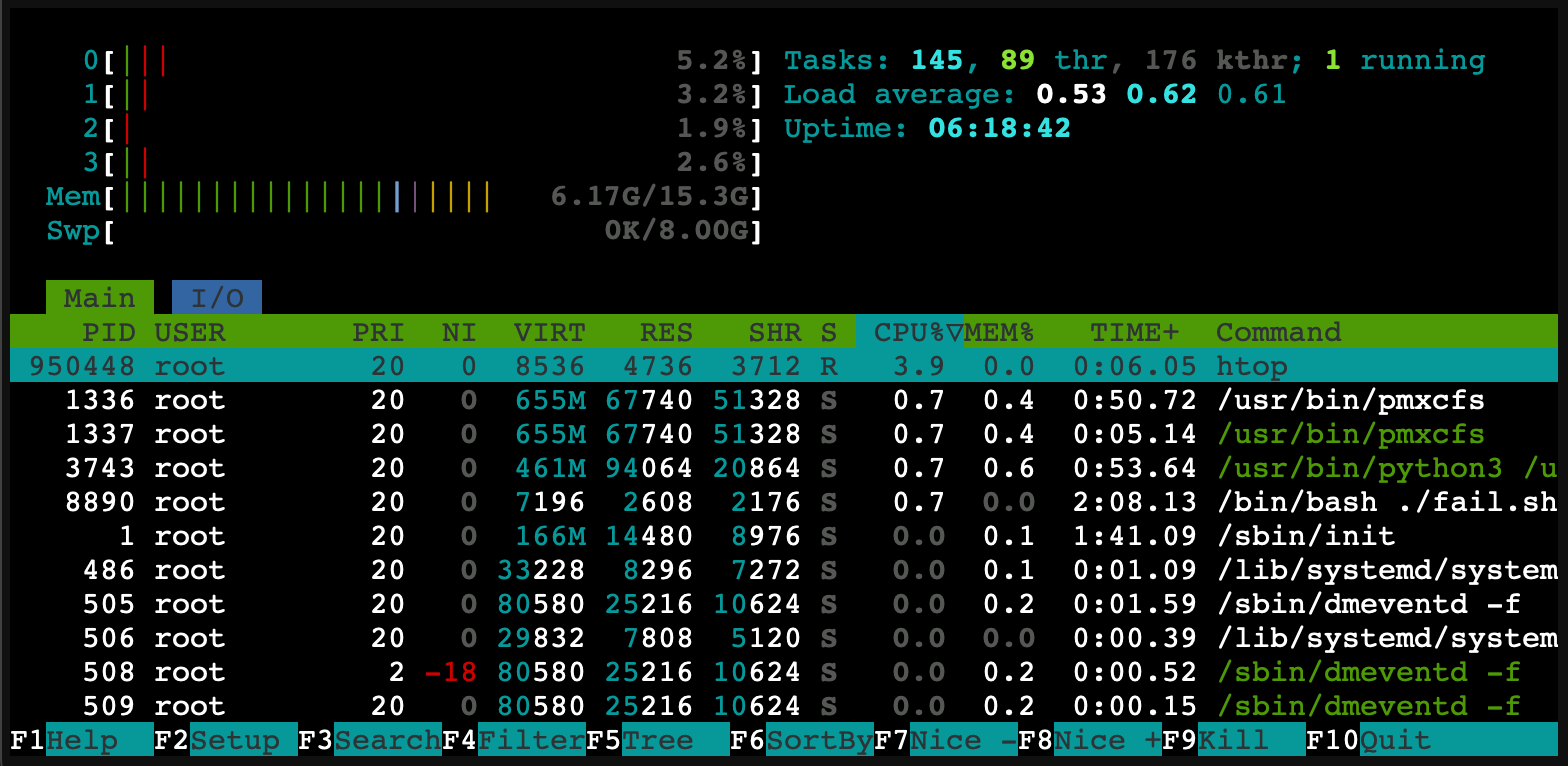
htop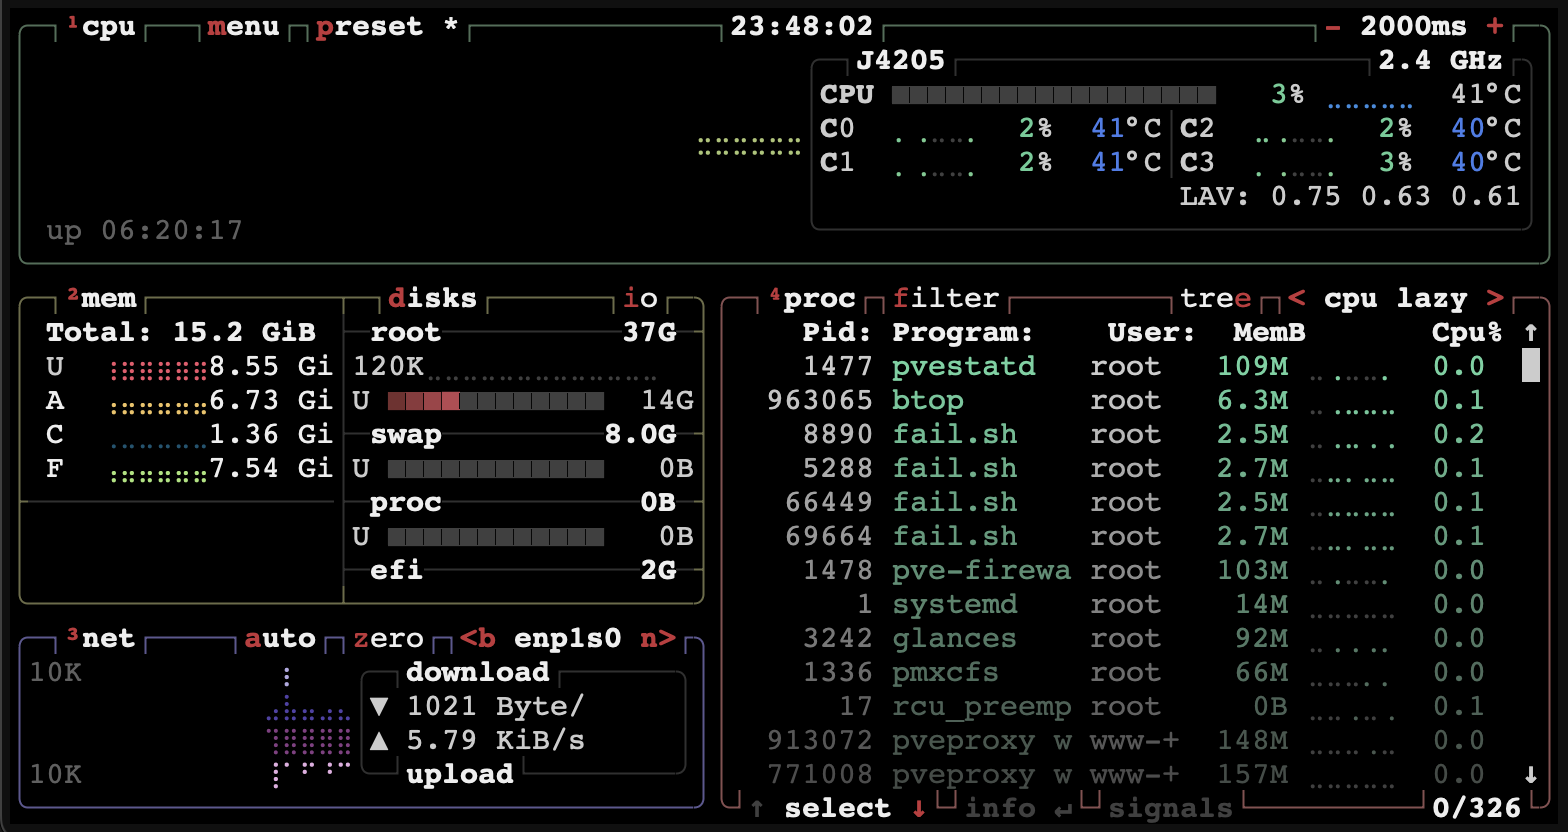
btop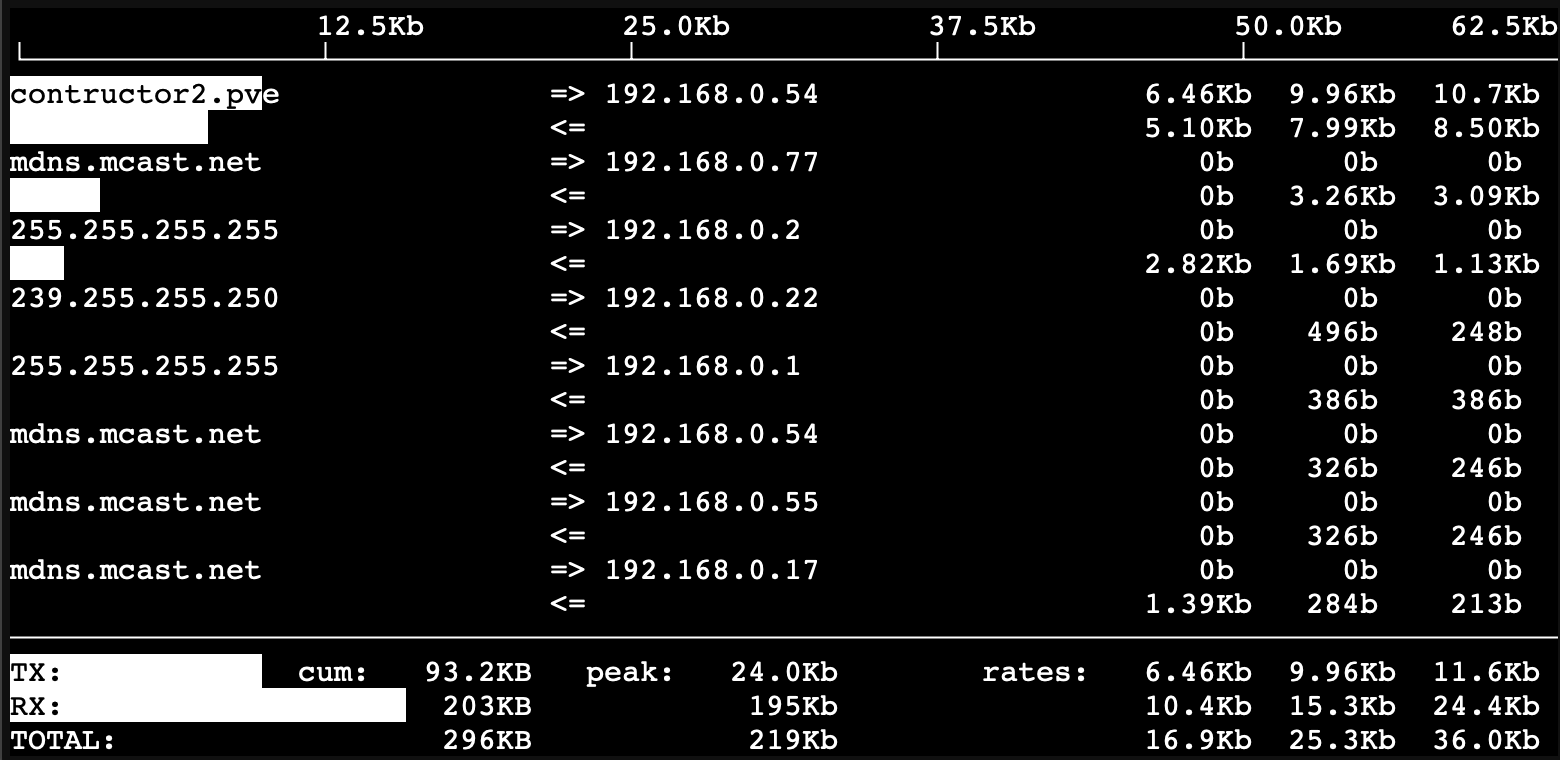
iftop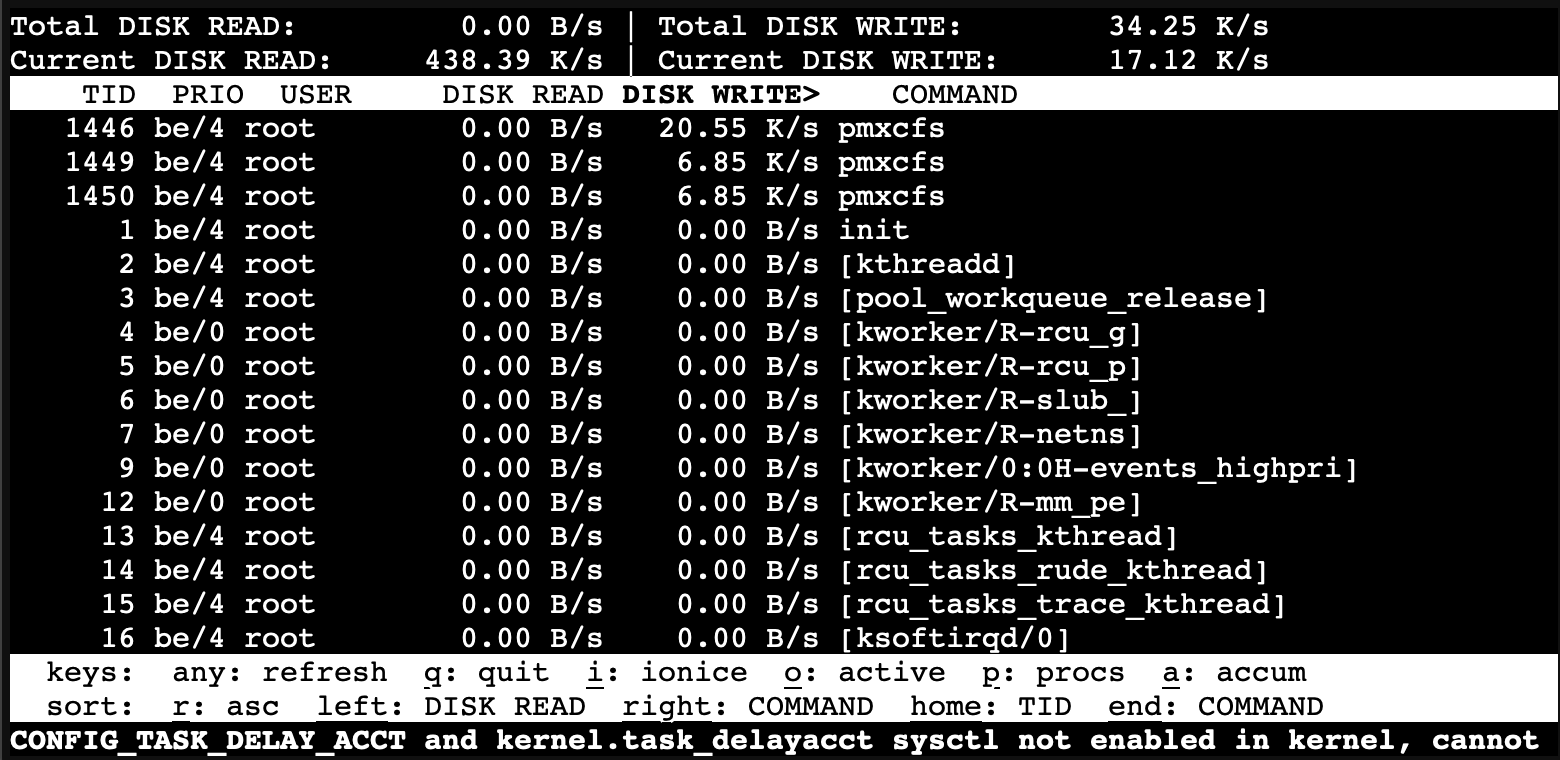
iotop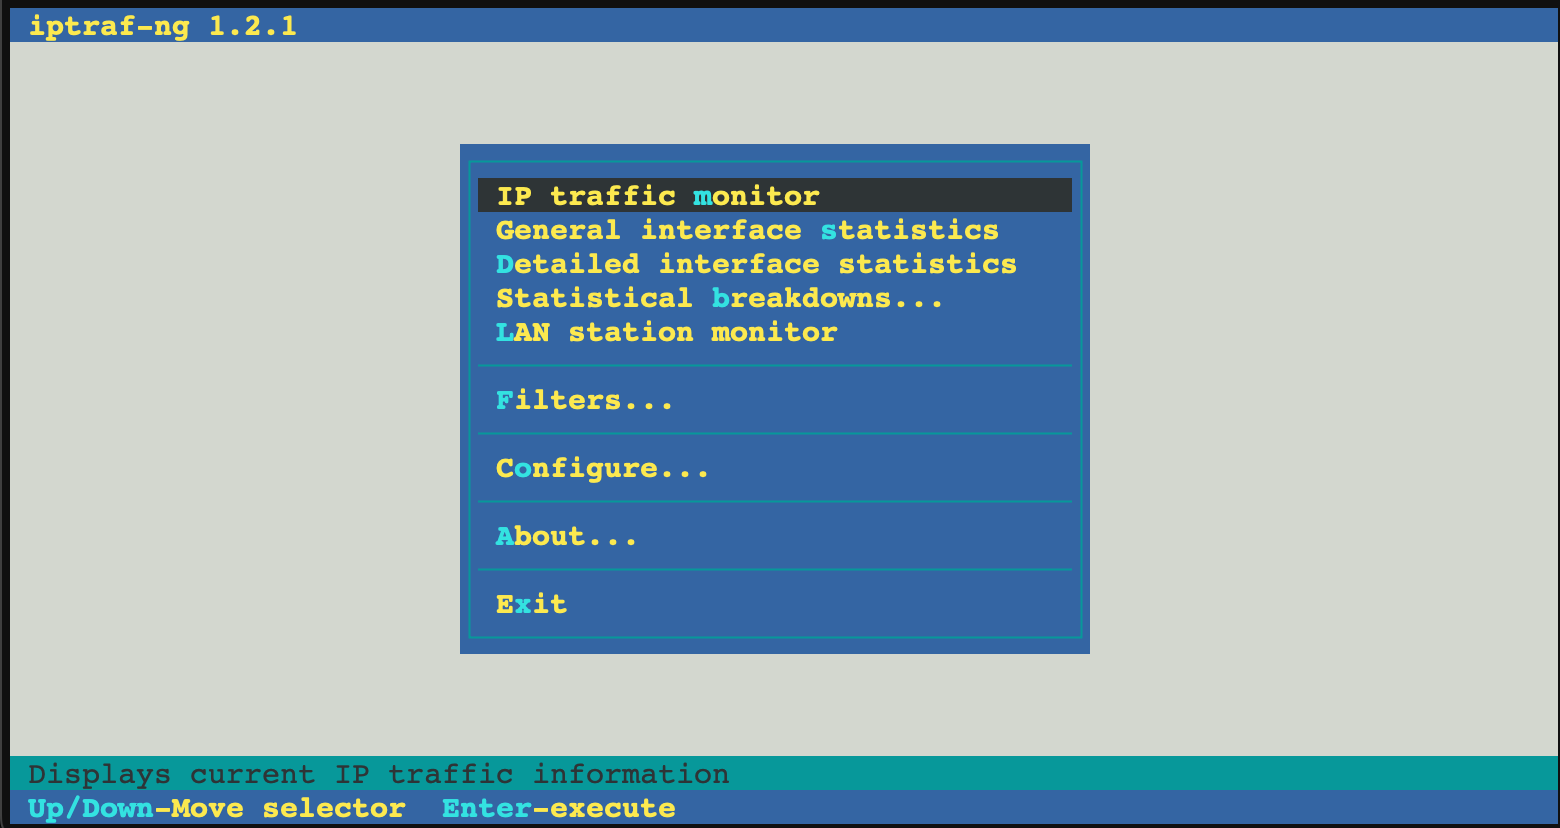
iptraf-ng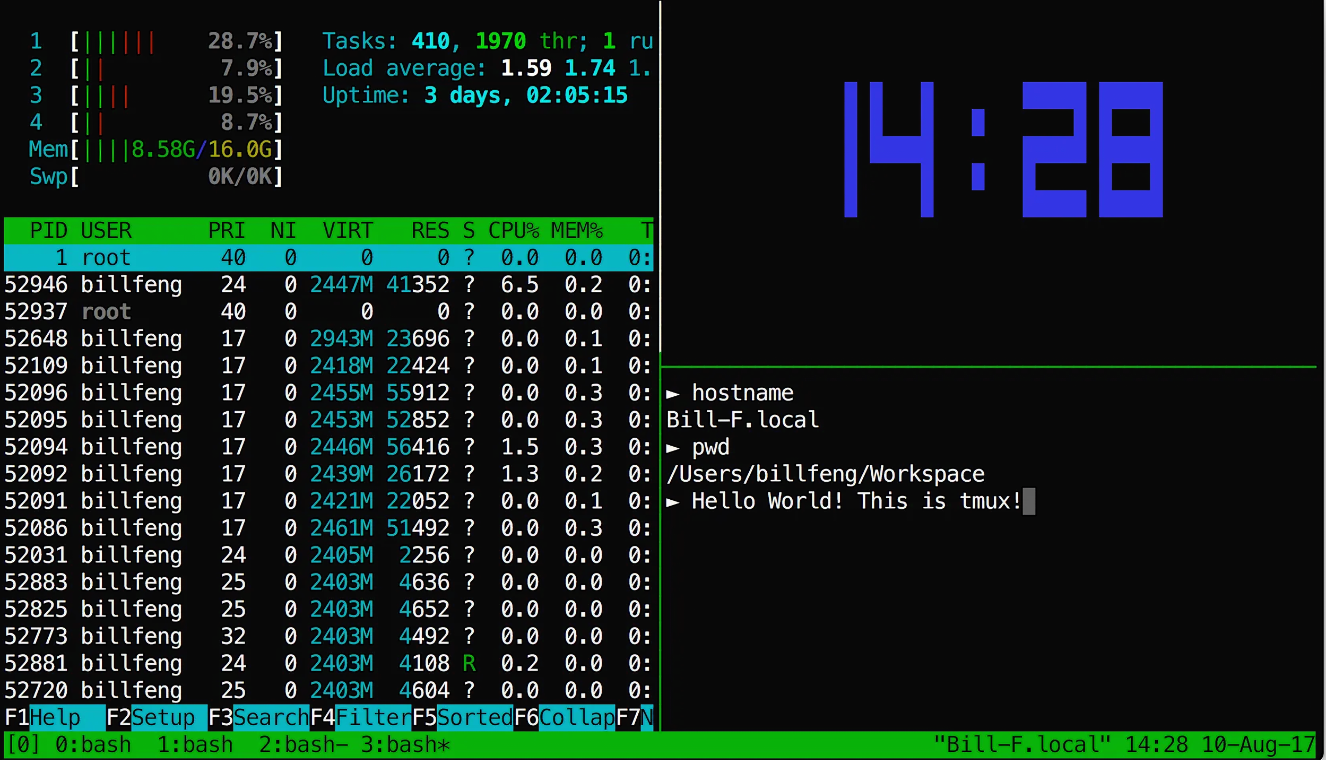
tmuxNo bulk uninstall for utilities
# Remove a utility you no longer want
apt purge htop
apt autoremove --purge
Related
- Proxmox System Update — re-runs the apt update + dist-upgrade cycle on demand.
- System Utilities Installer — install (or re-install) utilities individually after post-install.
- Updates and Packages commands — apt reference.
- Customizable Post-Install — back to the parent menu.