Host: Add local disk as Proxmox storage
Take a physical disk on the Proxmox host, optionally format it (ext4 / xfs / btrfs / zfs) and register it as Proxmox storage — either as a directory (pvesm add dir) or a ZFS pool (pvesm add zfspool). ProxMenux filters the disk list so you cannot pick the root disk or anything in use, and makes every destructive step explicit before running it.
What this does
Destructive tool for the 'format' path
wipefs / sgdisk / mkfs runs. Still — read the device path aloud twice before typing "yes".Directory vs ZFS pool — which to pick
| Directory (ext4 / xfs / btrfs) | ZFS pool | |
|---|---|---|
| Proxmox storage type | dir | zfspool |
| VM disk format | qcow2 / raw file on a filesystem | Native ZFS dataset (zvol) per disk |
| Snapshots | qcow2 snapshots; btrfs snapshots if fs=btrfs | Native, instant, copy-on-write |
| Thin provisioning | Yes (qcow2 default) | Yes (ZFS default) |
| RAM needs | Low | High — ZFS uses free RAM as ARC cache |
| Supports content types | images, backup, iso, vztmpl, snippets, rootdir | images, rootdir only (block storage) |
| Best for | General-purpose disk: mix of VM disks, backups, ISOs | Pure VM / LXC data disk with snapshot + integrity needs |
Opening the tool
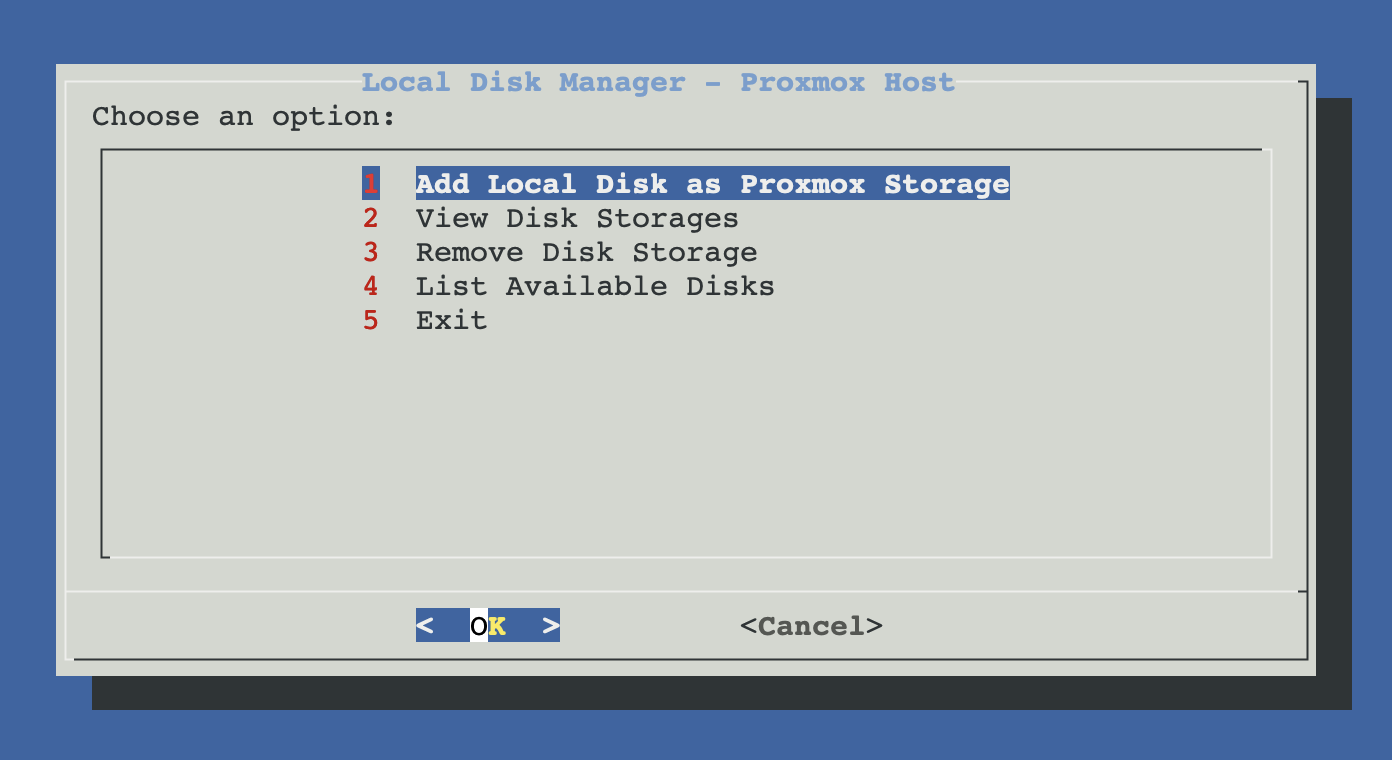
From ProxMenux's main menu, open Storage & Share Manager → Add Local Disk as Proxmox Storage. You will see this sub-menu with four options:
How the script runs (Add flow)
The flow has two phases with a triple-gate safety filter. Phase 1 discovers safe disks, decides what to do with the chosen one and collects storage parameters; Phase 2 does the destructive work. Until the final confirmation the disk is untouched.
┌─────────────────────────────────────────────┐
│  PHASE 1 — Detect, inspect, plan            │
│  (nothing touched yet)                      │
└──────────────────┬──────────────────────────┘
                   ▼
      Dependency check
      └─ parted / mkfs.ext4 / mkfs.xfs / blkid /
         lsblk / sgdisk present?
         If any missing → apt-get install
             parted e2fsprogs util-linux
             xfsprogs gdisk btrfs-progs
                   │
                   ▼
      Disk detection (lsblk -dn -e 7,11)
                   │
                   ▼
      Safety filter
      ├─ Hidden: type != "disk" (skip partitions)
      ├─ Hidden: read-only (ro=1)
      ├─ Hidden: /dev/zd* (ZFS volumes, not disks)
      ├─ Hidden: used by host storage
      │         (root pool, mounted paths, ZFS/LVM)
      └─ Hidden: referenced by any VM/LXC config
                   │
                   ▼
      User selects a disk
      (menu shows disk path + size + model)
                   │
                   ▼
      Disk inspection (blkid / lsblk)
      ├─ Has data → offer 2 actions:
      │      ├─ Format disk (ERASE all)
      │      └─ Use existing filesystem
      └─ Empty     → only "Format disk"
                   │
                   ▼
      If "Format" was chosen:
      Filesystem picker
      ├─ ext4   → dir storage (recommended general use)
      ├─ xfs    → dir storage (large files / VMs)
      ├─ btrfs  → dir storage (snapshots / compression)
      └─ zfs    → ZFS POOL storage (different path)
                   │
                   ▼
      Storage ID  (default: "disk-<device>")
      Mount path  (default: "/mnt/<storage-id>")
      Content types  (4 presets + custom):
      ├─ 1. VM Storage     → images,backup
      ├─ 2. Standard NAS   → backup,iso,vztmpl
      ├─ 3. All types      → images,backup,iso,vztmpl,snippets
      └─ 4. Custom         → free CSV input
                   │
   ┌──────── Cancel   OR   Confirm ────┐
   ▼                                   ▼
Exit, nothing        ┌─────────────────┴─────────────────┐
was changed          │  PHASE 2 — Execute                 │
                     └─────────────────┬─────────────────┘
                                       ▼
                       FORMAT PATH (destructive):
                       ├─ Final "ERASE confirmation" dialog
                       │   → Cancel exits here
                       ├─ wipefs + sgdisk --zap-all
                       ├─ parted/sgdisk: create partition
                       ├─ ZFS pre-flight:
                       │   • zpool command present?
                       │   • pool name not already in use?
                       ├─ mkfs.<fs> / zpool create
                       │   (mkfs.ext4 / xfs / btrfs / zfs pool)
                       ├─ Non-ZFS: mount -t <fs> + UUID
                       │     entry in /etc/fstab with
                       │     defaults,nofail
                       └─ ZFS: zpool manages its own mount
                                       ▼
                       REUSE PATH (existing fs):
                       ├─ blkid detects filesystem type
                       ├─ mkdir mount point
                       ├─ mount <disk> <path>
                       └─ UUID entry in /etc/fstab
                                       ▼
                       Register in Proxmox:
                       ├─ filesystem == zfs →
                       │    pvesm add zfspool <id> \
                       │         --pool <id> \
                       │         --content <csv>
                       └─ otherwise →
                            pvesm add dir <id> \
                                --path <mount-path> \
                                --content <csv>
                                       ▼
                       Summary + "visible in Datacenter →
                       Storage" confirmation
Format a blank disk
The path for a fresh disk or one whose contents you do not care about.
- Pick the disk (system / in-use disks are hidden).
- Pick "Format disk (ERASE all data)".
- Pick the filesystem — see the table above for trade-offs.
- Storage ID (default
disk-<device>), mount path, content-type preset. - Confirm at the FINAL CONFIRMATION — DATA WILL BE ERASED dialog.
- ProxMenux wipes the partition table, creates one partition spanning the whole disk, runs
mkfs.<fs>(orzpool create), mounts it, adds it to/etc/fstabby UUID withdefaults,nofail, and registers it in Proxmox viapvesm add dirorpvesm add zfspool.
Why UUID + nofail in /etc/fstab
UUID=… /mnt/<id> <fs> defaults,nofail 0 2. UUID survives device reordering across reboots (so /dev/sdc becoming /dev/sdd does not break boot). nofail means that if the disk ever disappears (hardware failure, unplugged), Proxmox still boots — storage will just show as inactive until the disk comes back.Reuse an existing filesystem
The path for a disk you want to keep the data on — maybe you moved it from another Proxmox host, or the disk already has backups / ISOs you want to keep accessible.
- Pick the disk.
- Pick "Use existing filesystem".
- Storage ID, mount path, content-type preset.
- ProxMenux does not touch the data: it creates the mount point, mounts the disk, adds a UUID entry to
/etc/fstab, and registers it as a Proxmoxdirstorage.
Reuse path does not handle ZFS pools
zpool import <name> on the command line and then register it manually with pvesm add zfspool.Content-type presets
Instead of a long checklist, ProxMenux offers 4 presets plus a custom option. The preset string is passed to pvesm add … --content <csv>:
| Preset | Content string | Use case |
|---|---|---|
| VM Storage | images,backup | A dedicated VM disk store that also keeps backups of those VMs nearby. |
| Standard NAS | backup,iso,vztmpl | An archive / media disk — backups, ISOs and LXC templates. No live VM disks here. |
| All types | images,backup,iso,vztmpl,snippets | "Let the host decide" — allows every content type Proxmox supports on this storage. |
| Custom | (free input) | Type the exact CSV yourself, e.g. images alone, or rootdir,images. |
ZFS pool content is narrower
images and rootdir as content types on a zfspool (it is block storage, not a filesystem for ISOs). The presets above will still work but Proxmox silently drops the content types it cannot use — check pvesm status afterwards.Manual equivalent
Format + register a disk as ext4 directory storage:
# 1. prerequisites (one-time)
apt-get install -y parted e2fsprogs xfsprogs gdisk btrfs-progs

# 2. wipe + partition
wipefs -af /dev/sdX
sgdisk --zap-all /dev/sdX
sgdisk -n 1:0:0 -t 1:8300 /dev/sdX

# 3. format
mkfs.ext4 -L mydisk /dev/sdX1

# 4. mount + fstab (by UUID, nofail)
mkdir -p /mnt/mydisk
UUID=$(blkid -s UUID -o value /dev/sdX1)
echo "UUID=$UUID  /mnt/mydisk  ext4  defaults,nofail  0  2" >> /etc/fstab
mount /mnt/mydisk

# 5. register in Proxmox
pvesm add dir mydisk \
  --path /mnt/mydisk \
  --content images,backup
Or as a ZFS pool:
# 1. create the pool on the raw disk (no partition step needed)
zpool create -o ashift=12 tank /dev/sdX

# 2. register in Proxmox
pvesm add zfspool tank \
  --pool tank \
  --content images,rootdir

pvesm status tank
View disk storages
Lists every disk-backed Proxmox storage (both dir and zfspool that are user-created — system pools like rpool are hidden). Shows the mount path / pool name, content types and live status.
Remove disk storage
Unregisters the storage from Proxmox (pvesm remove) and offers to clean up the matching entry in /etc/fstab. For ZFS pools the script does not automatically destroy the pool — that is a separate zpool destroy <name> step you do by hand when you are sure.
Data and existing VM dependencies
List available disks
A read-only diagnostic view: prints the output of lsblk -o NAME,SIZE,TYPE,FSTYPE,MOUNTPOINT,MODEL followed by the dir / zfspool storages Proxmox already knows about. Good first stop when you open the tool and want to see "what is on this host?" before adding anything.
Troubleshooting
"No available disks found"
- Only the root disk is present.
- Every other disk is part of an active ZFS / LVM / RAID array.
- Every other disk is referenced by a VM or LXC config (passthrough).
- The disk is in read-only mode (failing hardware or write-blocker).
lsblk output and understand what's happening.Format fails with "device is mounted"
umount /dev/sdX?* or systemctl stop <whatever-mounts-it>, then retry. The script's safety filter should have hidden mounted disks, so if you reached this error the mount happened between the menu showing and you confirming.zpool create fails "invalid vdev specification"
zpool refuses to overwrite without force. The script runs wipefs and sgdisk --zap-all before format, but a very stubborn disk may still have a stale label. Force a clean wipe manually: zpool labelclear -f /dev/sdX or dd if=/dev/zero of=/dev/sdX bs=1M count=10 and retry.Storage shows as inactive after reboot
findmnt <mount-path> — if the mount is missing, something in /etc/fstab failed. dmesg | tail usually points at the reason (UUID mismatch, filesystem corruption, nofail dropped the retry). A mount -a usually reactivates the storage once the cause is fixed.Related
- Disk Manager: Format / Wipe Physical Disk — low-level alternative when you just want to prepare a disk without registering it as Proxmox storage.
- Add iSCSI target as Proxmox storage — network equivalent when the block device lives on another box.
- Add Shared Directory on Host — prepare a directory on the host for LXC bind mounts (does not register a Proxmox storage).