Create VM: Synology DSM
Create a Synology DSM virtual machine on Proxmox VE. ProxMenux downloads the loader of your choice (Arc, RR, TinyCore M-shell or a custom one), imports it as the VM's boot disk and prepares CPU, RAM and storage through the default or advanced wizard.
What this does
Supported loaders
The script lets you choose between four loader sources:
- AuxXxilium Arc
- RedPill RR
- TinyCore RedPill M-shell
- Custom Loader — drop your own loader image into
/var/lib/vz/template/isoand the script will pick it up.
Default vs Advanced configuration
When you run the script it asks whether to use the ProxMenux default VM profile or open the advanced wizard. Default values are tuned for DSM and work for most installs.
Default configuration
| Parameter | Default value |
|---|---|
| Machine type | q35 |
| BIOS | OVMF (UEFI) |
| CPU type | Host |
| Cores | 2 |
| RAM | 4096 MB |
| Bridge | vmbr0 |
| MAC address | Auto-generated |
| Start on completion | No |
Advanced configuration
The advanced wizard exposes every knob. You can freely change any of these:
| Parameter | Options |
|---|---|
| Machine type | q35 or i440fx |
| BIOS | OVMF (UEFI) or SeaBIOS (Legacy) |
| CPU type | Host or KVM64 |
| Cores | Number of CPU cores |
| RAM | Memory allocated to the VM |
| Bridge | Network bridge |
| MAC address | Custom MAC |
| VLAN | VLAN tag (optional) |
| MTU | MTU size |
Storage plan
After the CPU / RAM step, ProxMenux opens the Storage Plan menu, where you can combine virtual disks, imported disks and PCI passthrough devices in the same VM, adding items one at a time and finishing when you are done.
a. Add virtual disk
- Lists the Proxmox storage volumes available on the host.
- You pick the target storage and the size in GB.
- The disk is attached to the VM as SATA (
sata0,sata1, … up to 6).
b. Add import disk
- Detects physical disks that are safe to import (system and protected disks are hidden).
- You select one or more disks via a checklist.
- Imported disks are attached as SATA via
qm set.
c. Add Controller or NVMe (PCI passthrough)
- Detects SATA/SAS HBAs and NVMe devices on the host and lets you pass an entire controller into the VM. IOMMU must be enabled; the script offers to enable it and reboots if required.
- A confirmation step warns about controller-wide risk (the whole card, including every disk on it, leaves the host).
- The selected PCI devices are attached via
qm set hostpciN: ….
Reset and finish
Optional GPU passthrough
After the storage plan, if the script detects a compatible GPU on the host it asks whether you want to pass it to this VM. See Add GPU to a VM (Passthrough) for how the assistant works — a host reboot may be required.
Loader installation
Arc, RR and TinyCore M-shell are downloaded and extracted automatically from their upstream GitHub repositories. If the download fails the script aborts with a clear message.
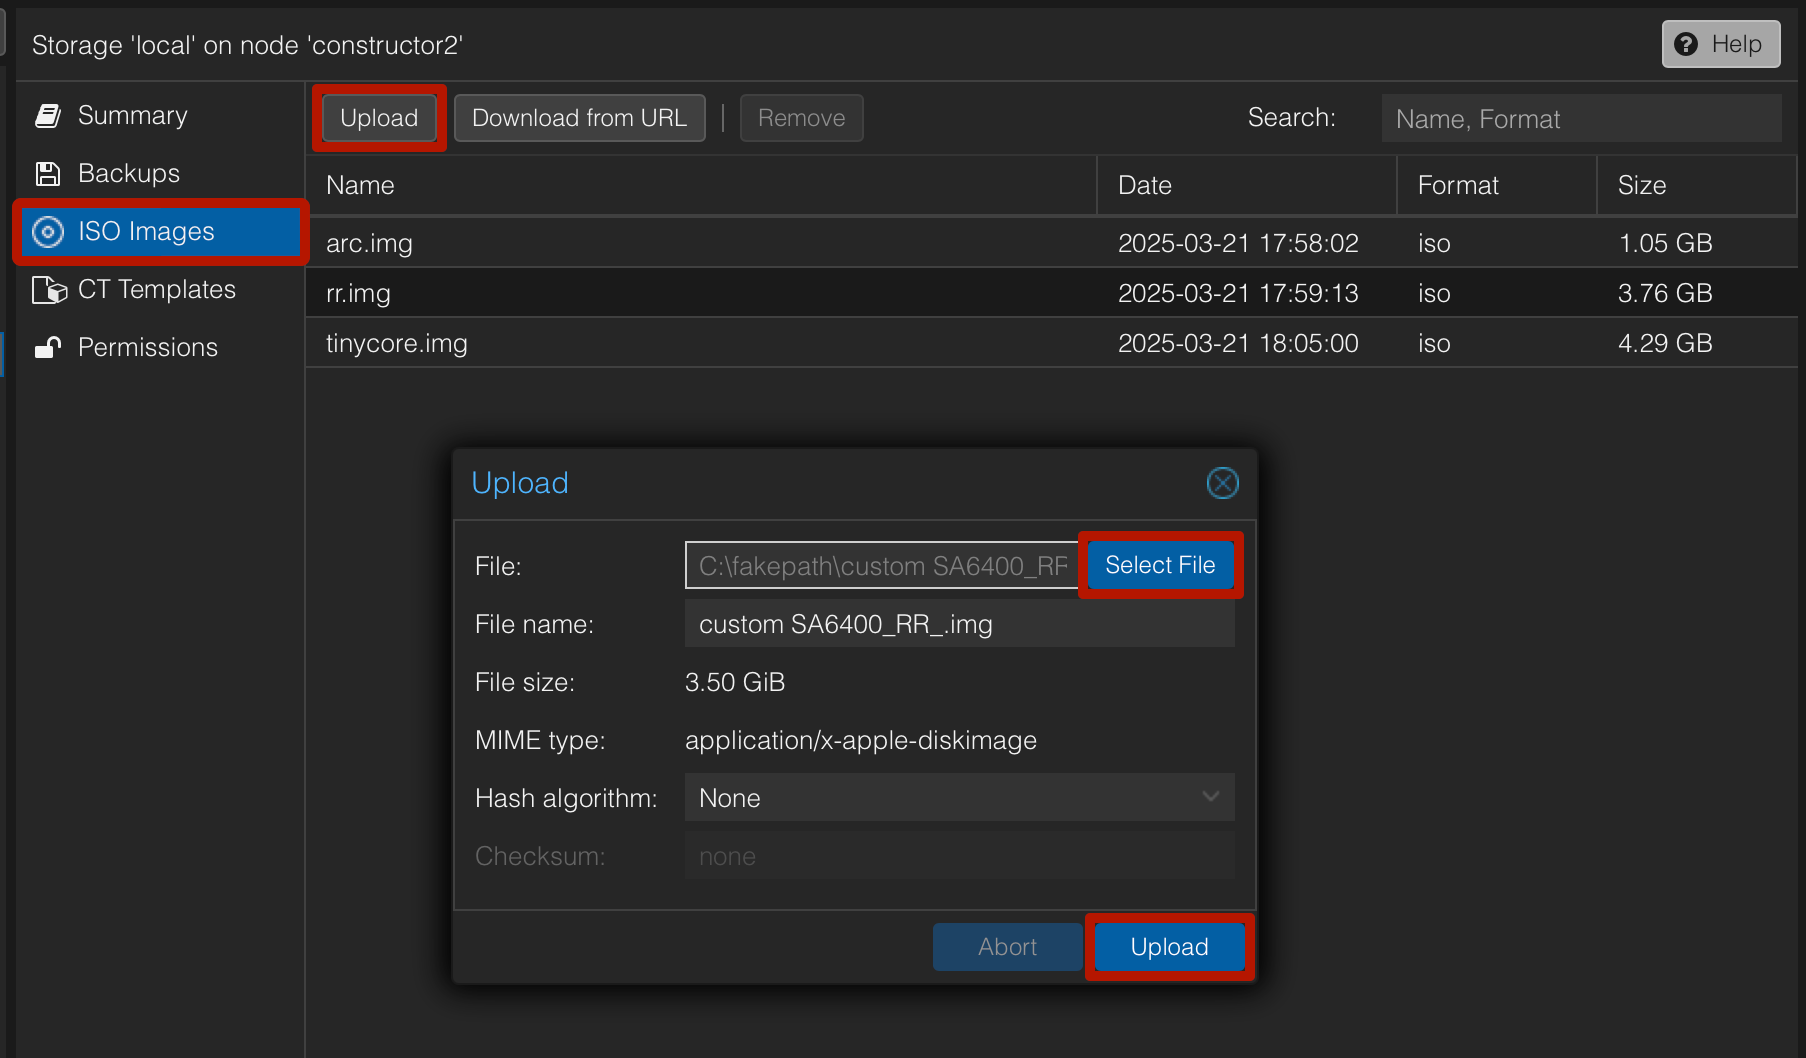
For the Custom Loader option the script scans /var/lib/vz/template/iso. If more than one candidate is found you are prompted to pick the one you want.
You can upload custom loaders from Proxmox local storage:
VM creation — what the script runs
Once you confirm the loader, ProxMenux runs the equivalent of these qm commands:
qm create— creates the VM with the selected CPU, RAM, BIOS and machine type.qm importdisk— imports the loader as an IDE disk (maximum compatibility).qm set sataN: …— attaches virtual disks and imported disks from the storage plan, plus the network interface.qm set hostpciN: …— attaches any Controller / NVMe devices selected for PCI passthrough.qm set --boot— sets the loader as the first boot device.
Step-by-step loader configuration
All loaders follow the same high-level pattern — start the VM, pick a model, pick a DSM version, pick add-ons, build, boot — but the screens and menus differ. The guide below walks through the six shared steps with screenshots for each loader. Exact options may change with new loader releases.
Loaders are not maintained by ProxMenux
Start the VM and access the main menu
Once the VM is created, start it. The first boot takes you to the loader's configuration interface where you pick and build the DSM model you want. After the loader has been built, subsequent boots skip this step unless you force a reconfiguration from the loader's own boot monitor. All three loaders support both a terminal UI and a web UI.
Web interface. Open a browser and go to the IP shown in the VM console (in our example: http://192.168.0.32).
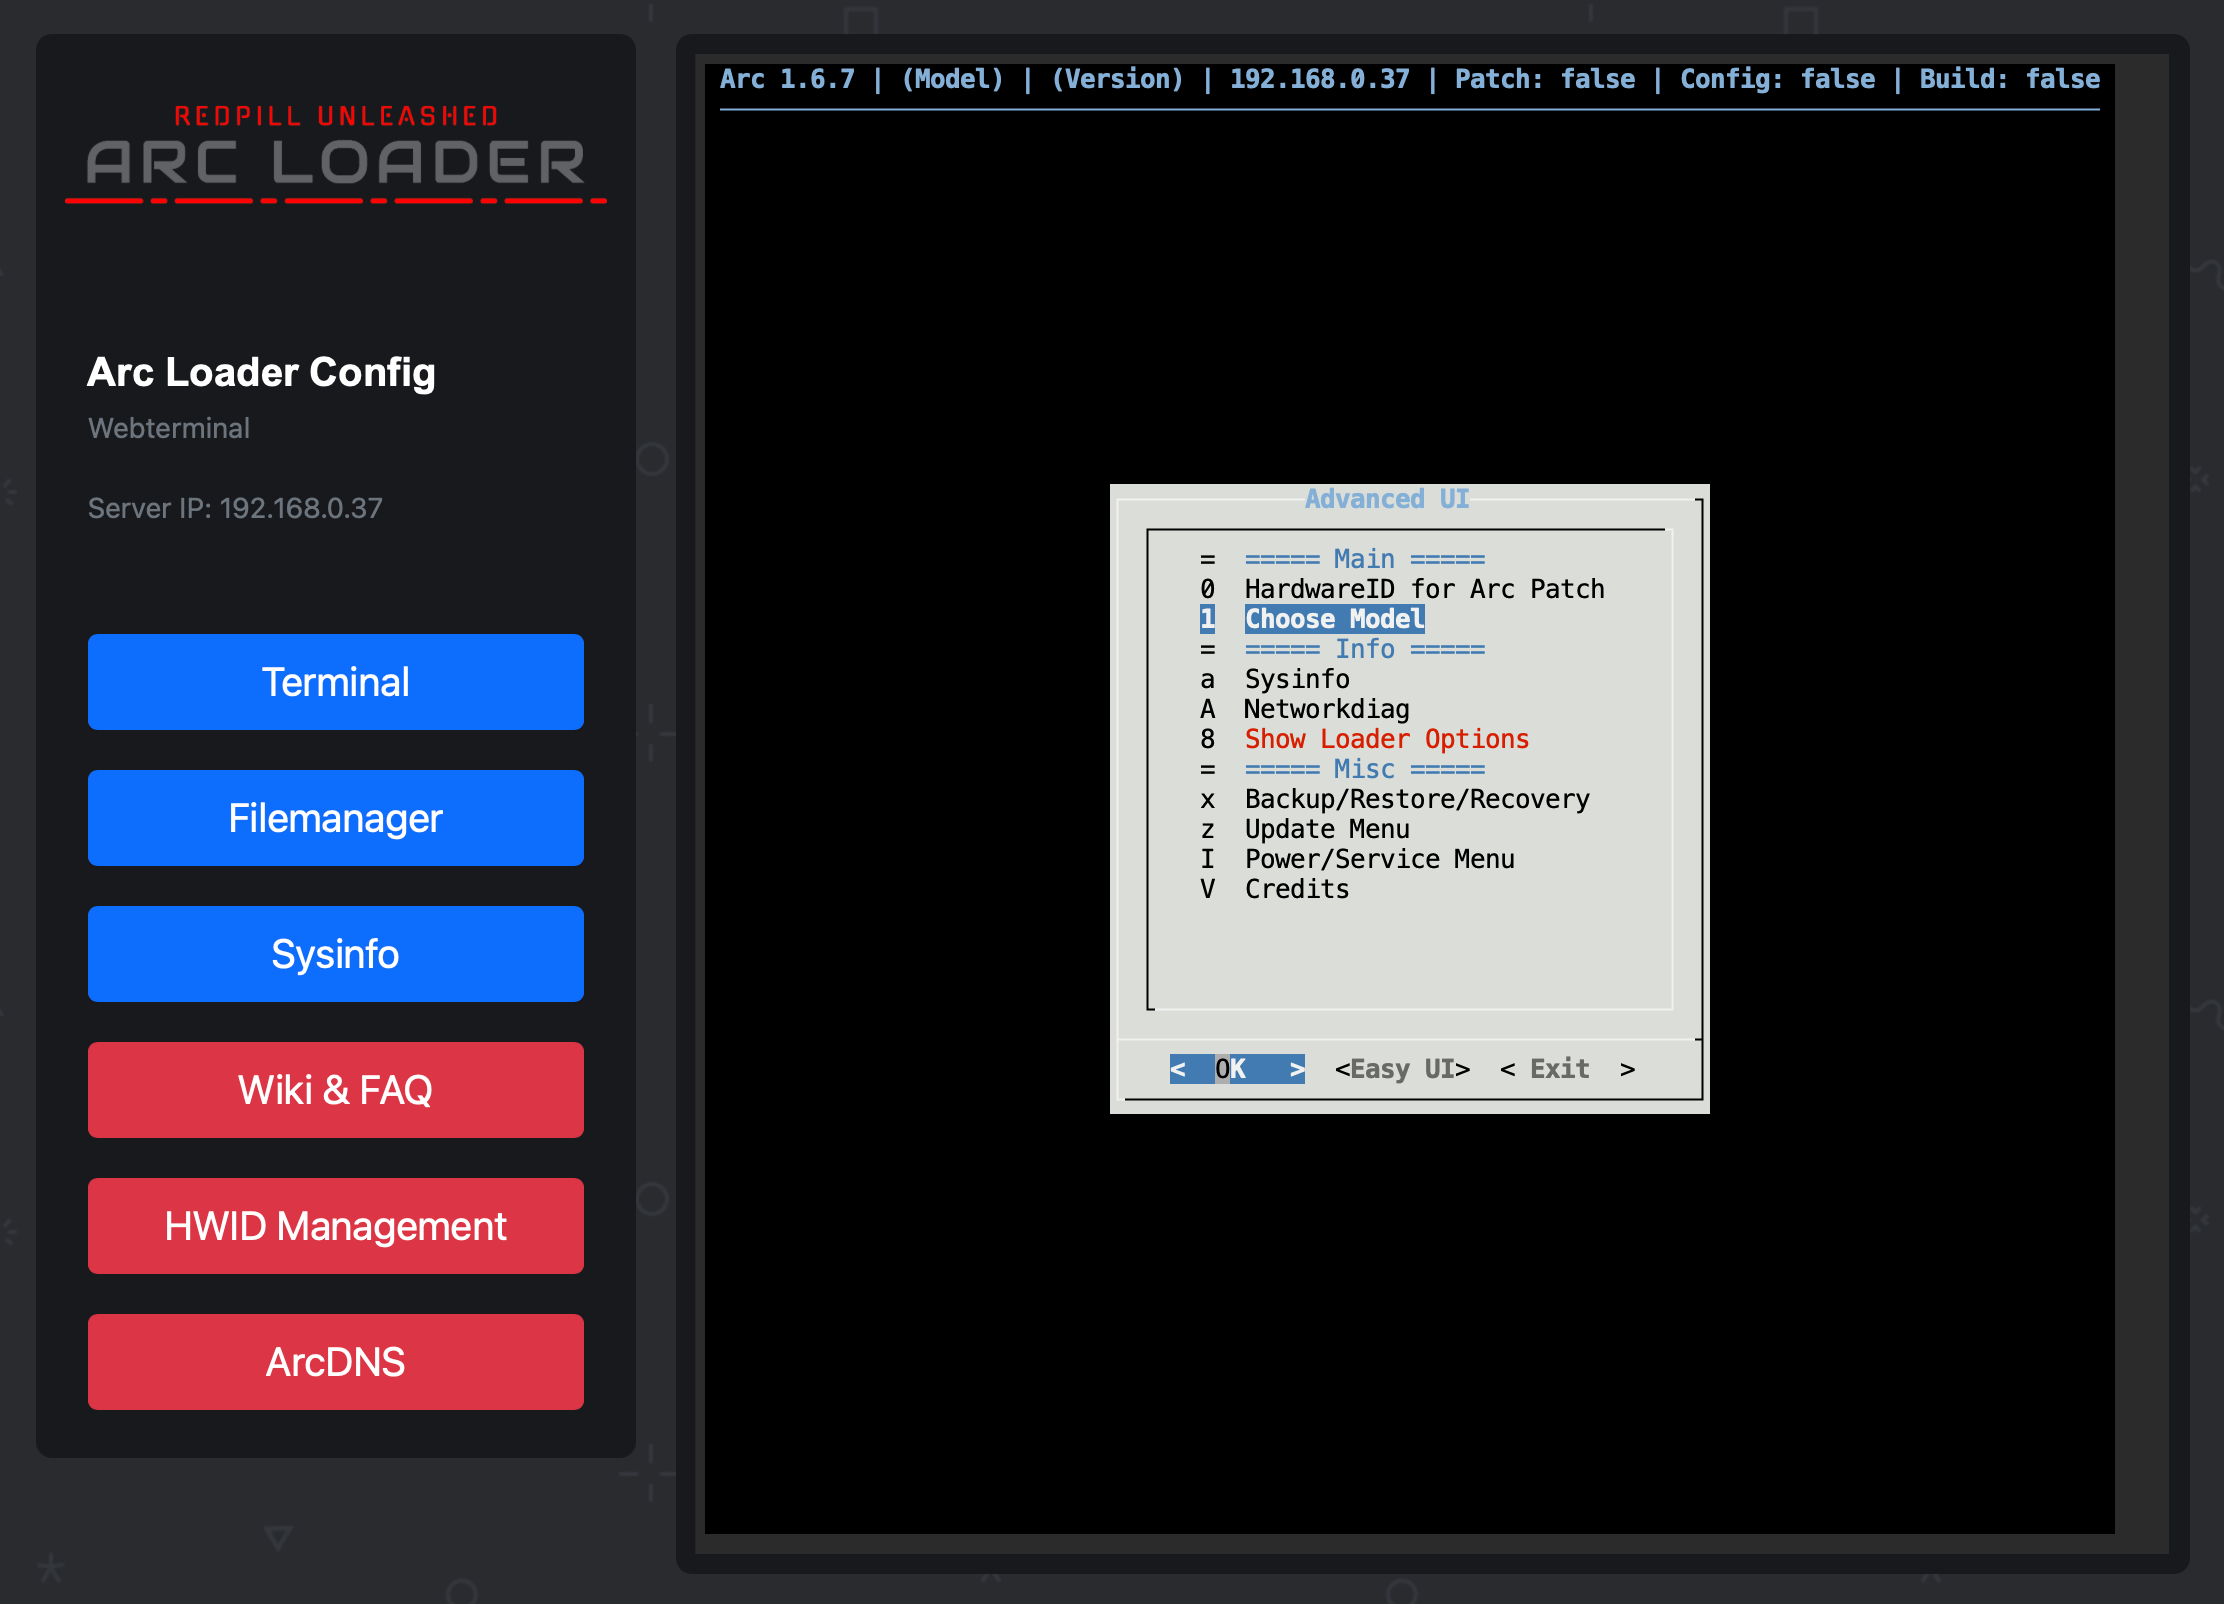
Terminal interface. Use it directly from the VM console output.
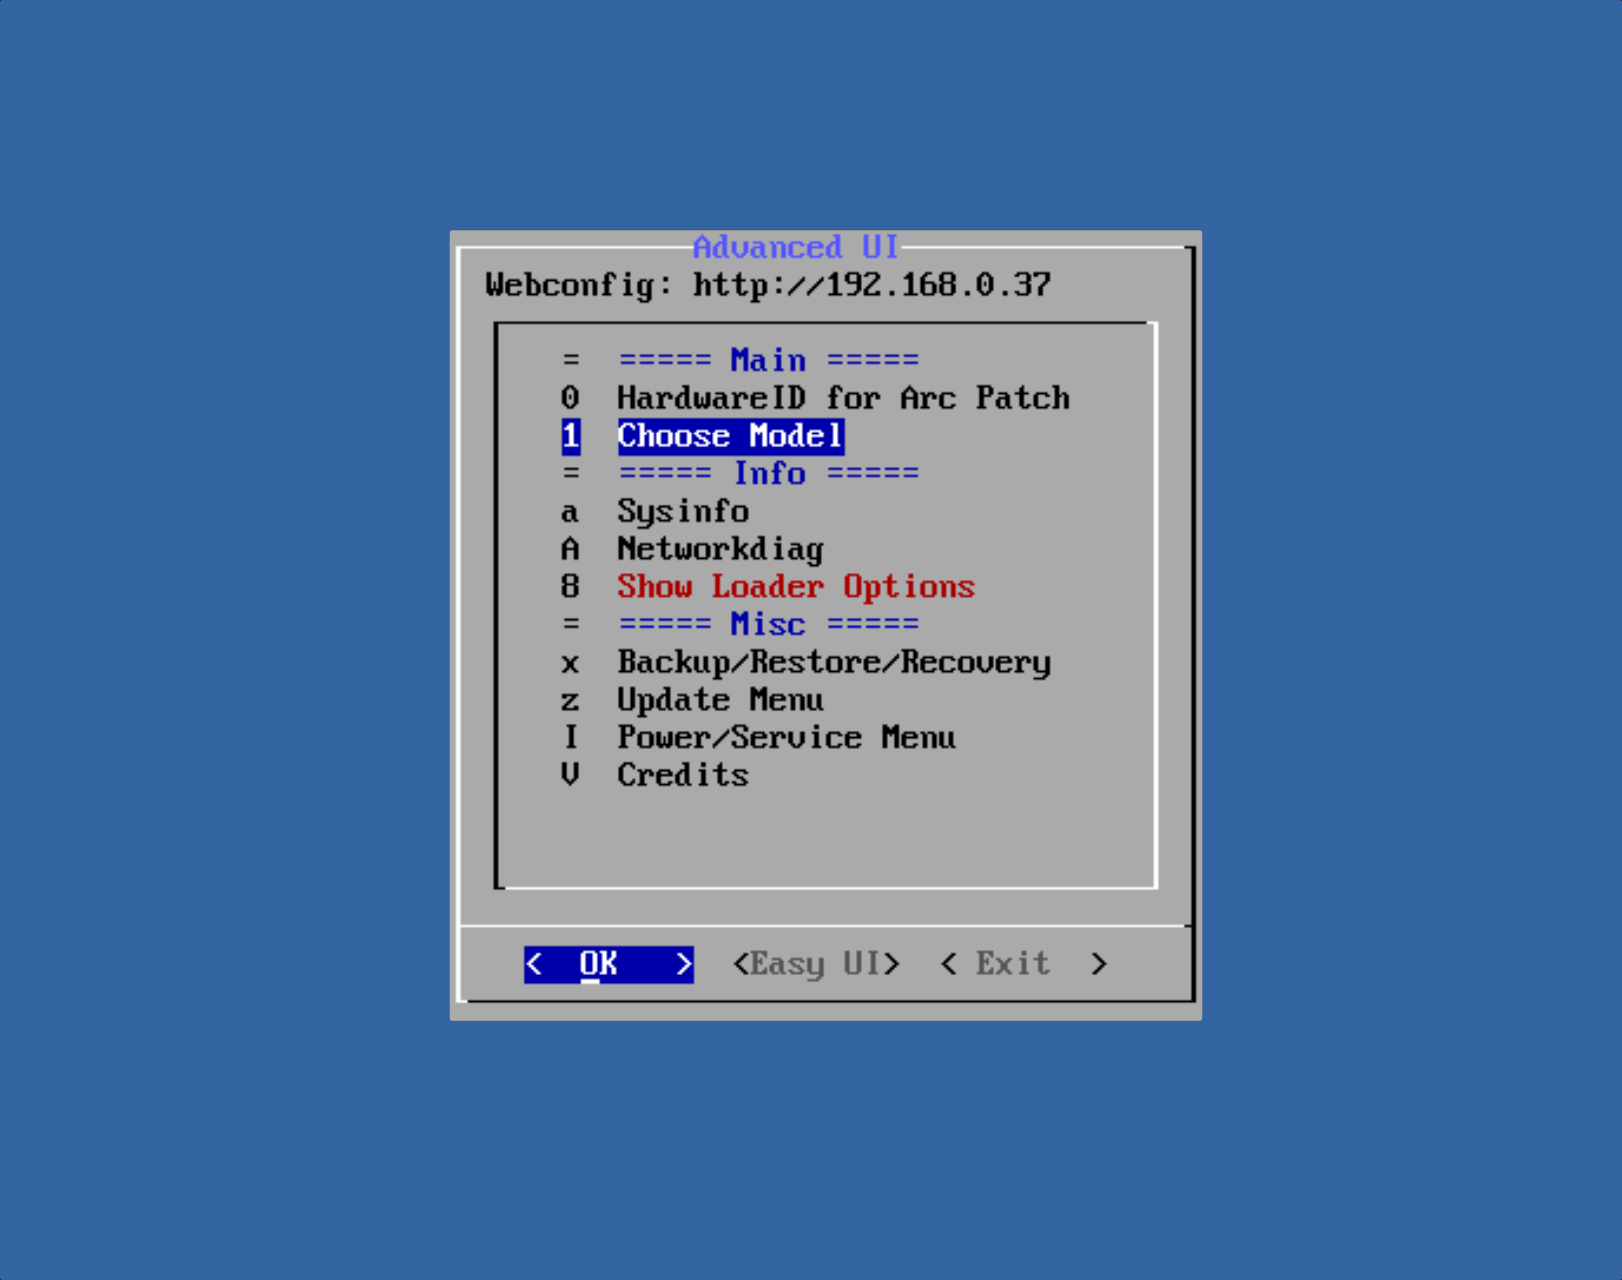
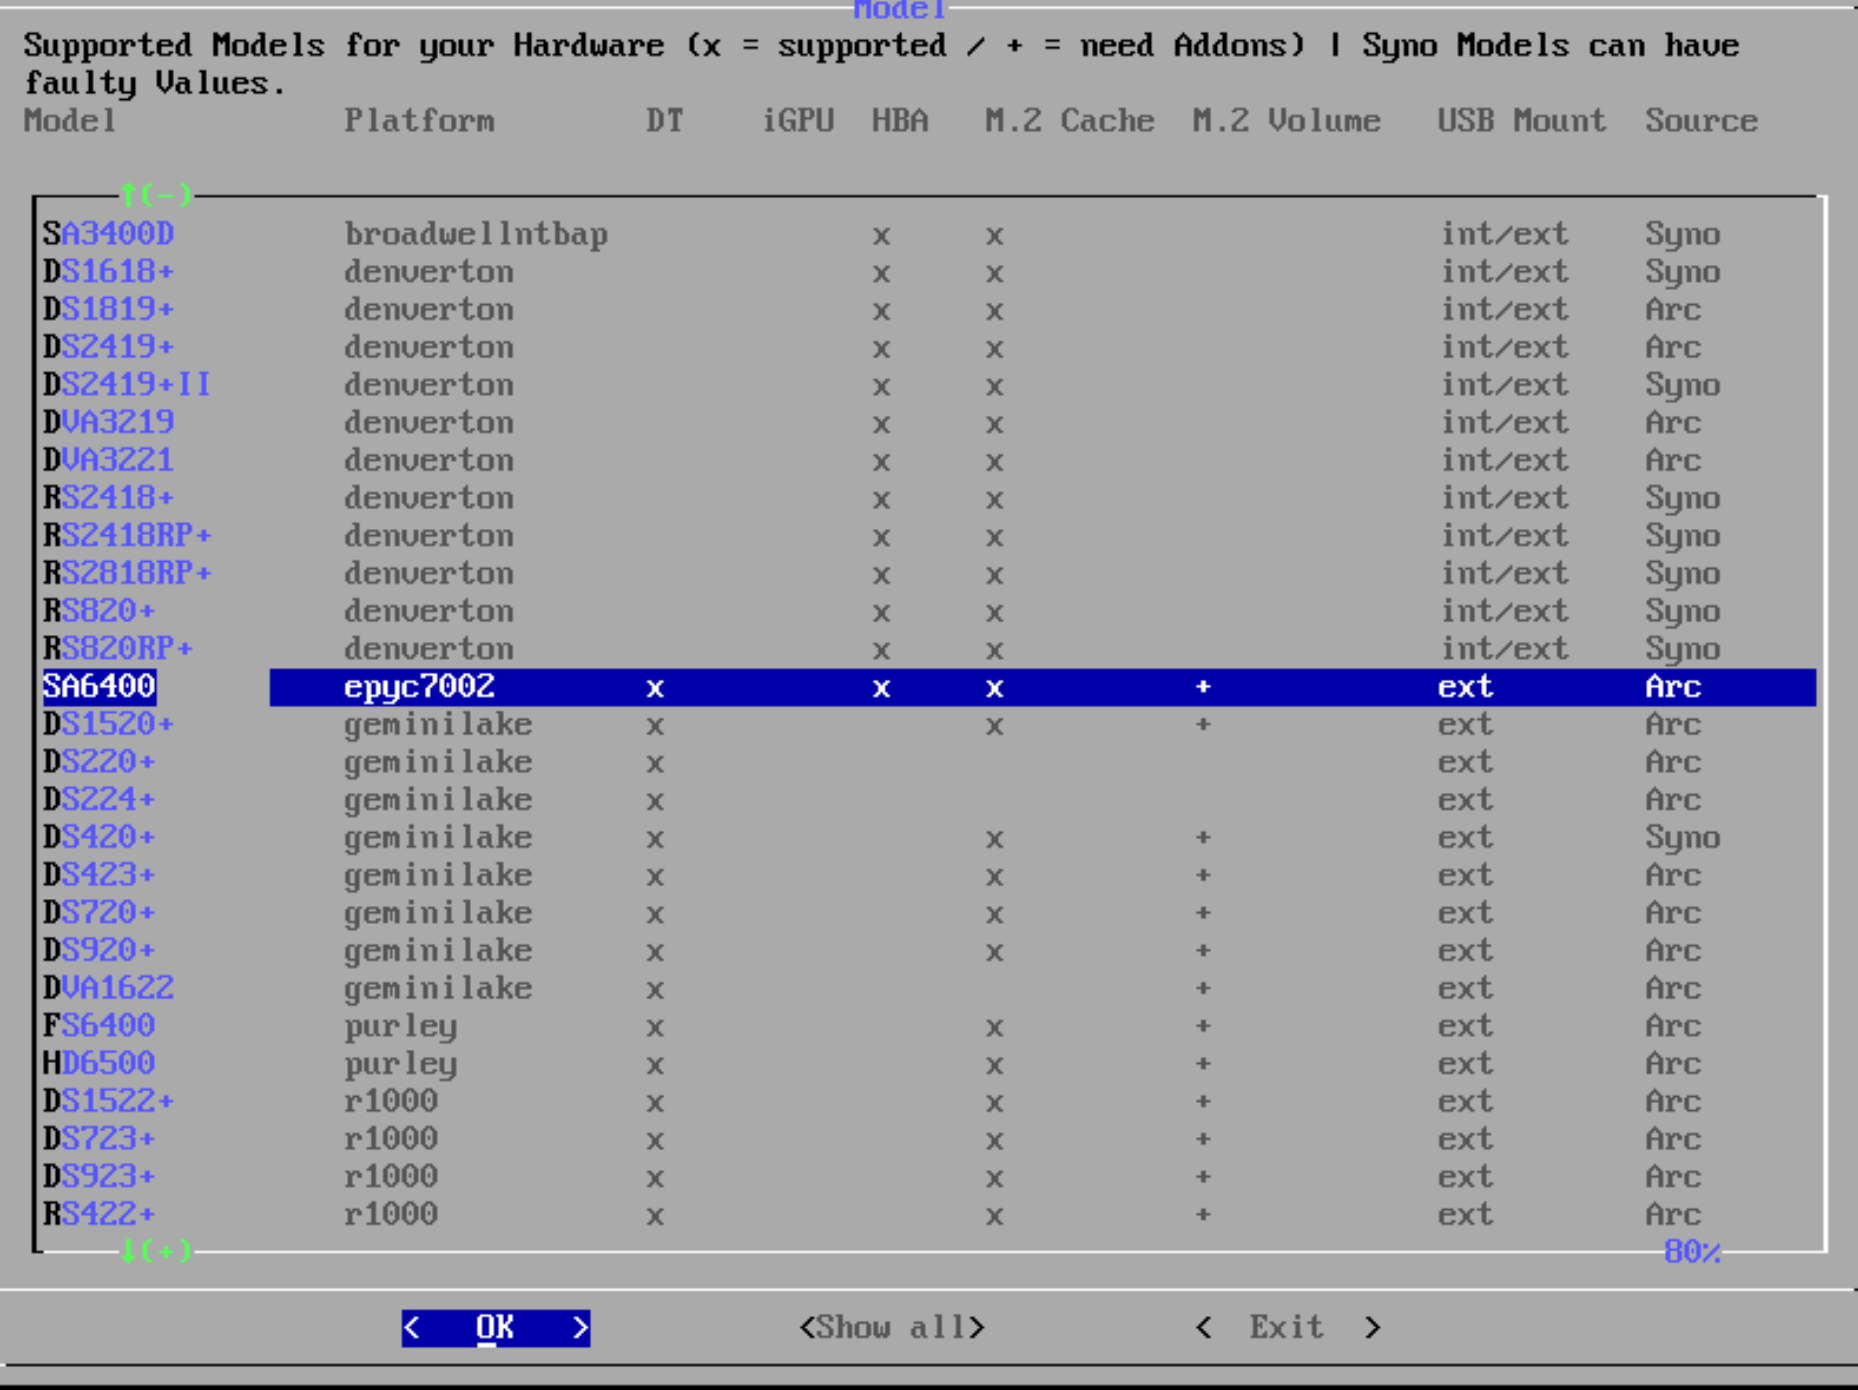
Select model
Pick the Synology DSM model you want to install. Depending on the loader you may need to expand the options to see the full list. In the screenshots below we use the SA6400 model as an example.
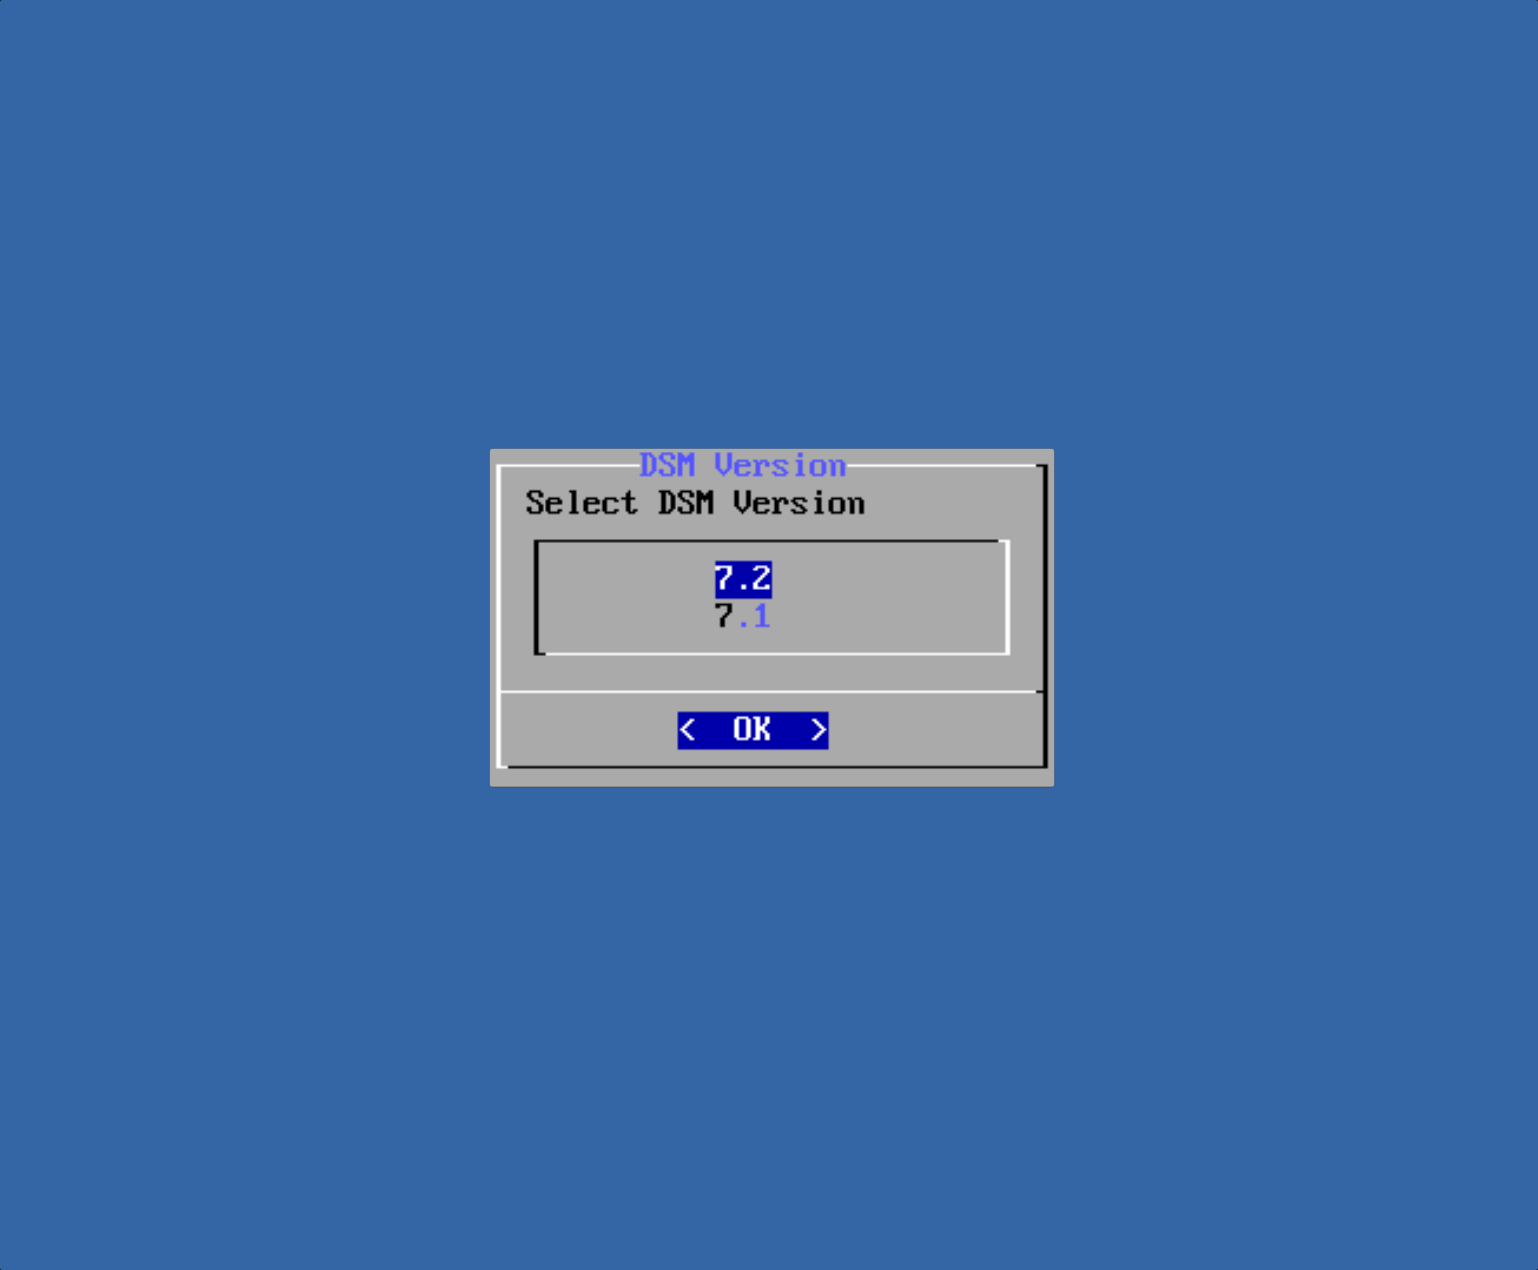
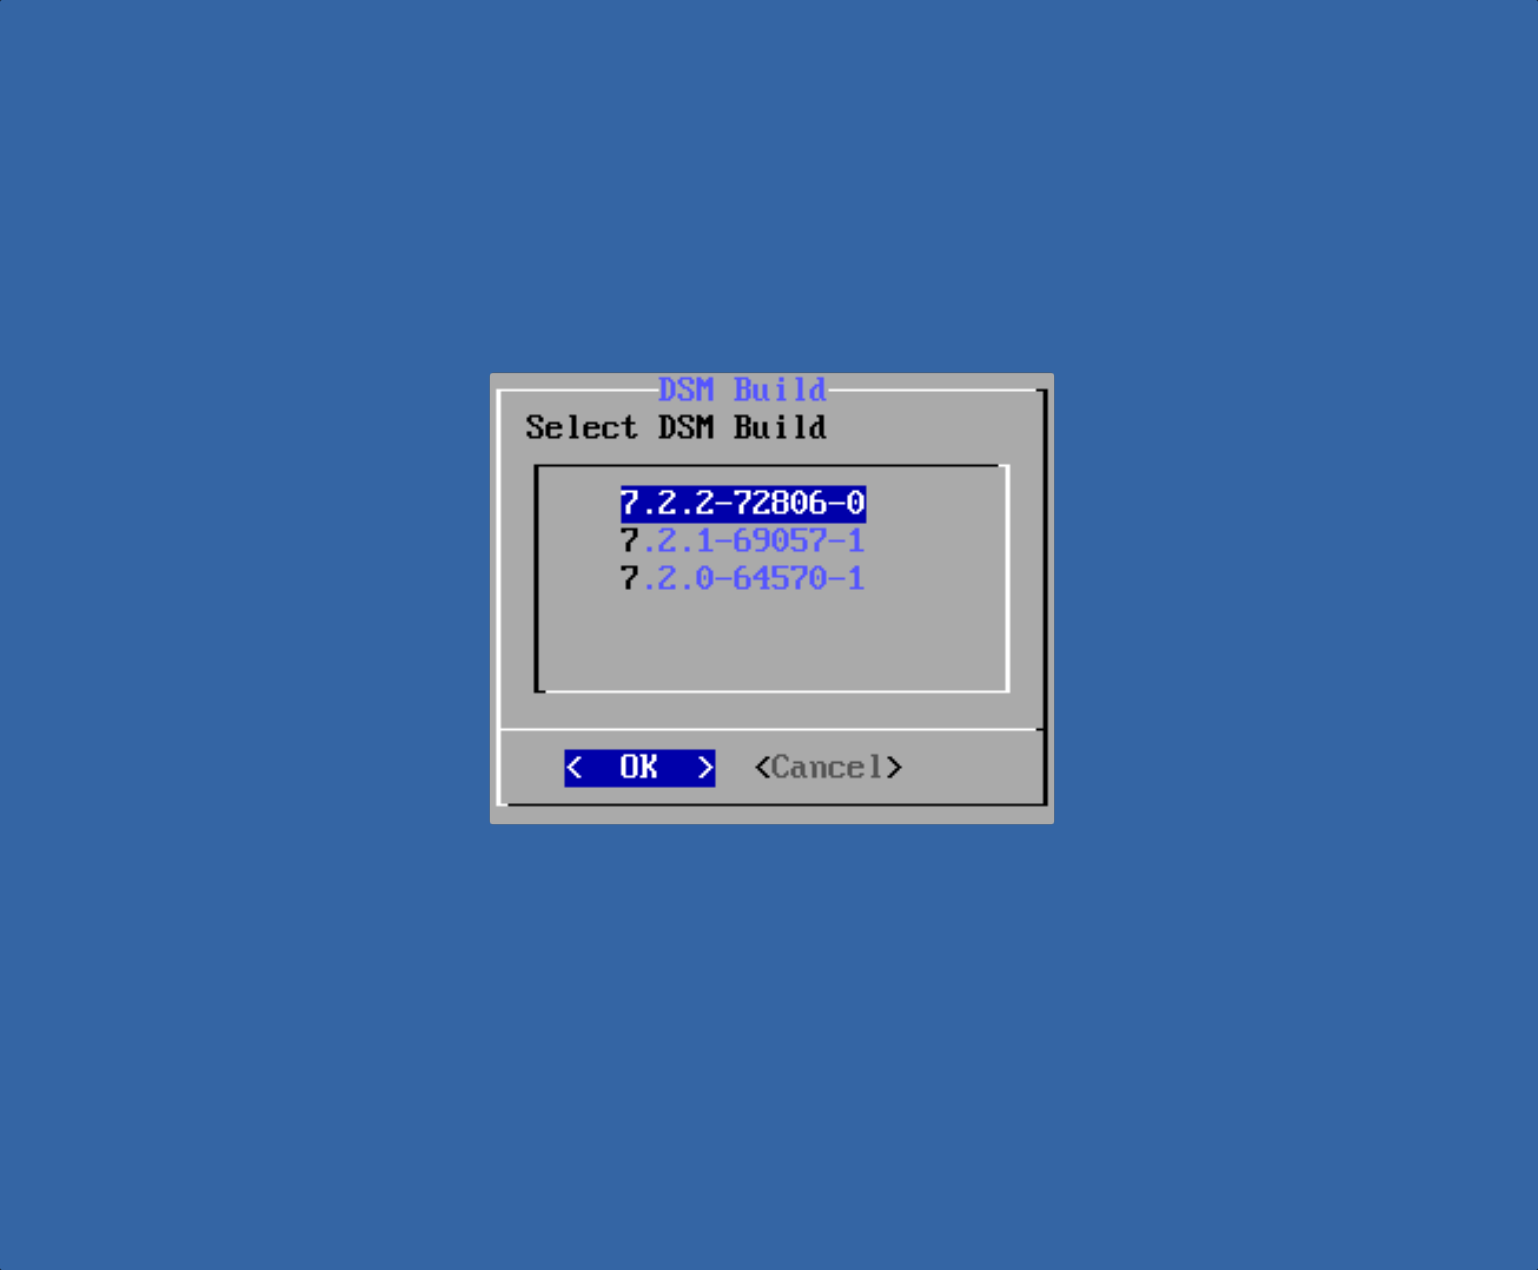
Select DSM version
After picking the model, choose the DSM version to install.
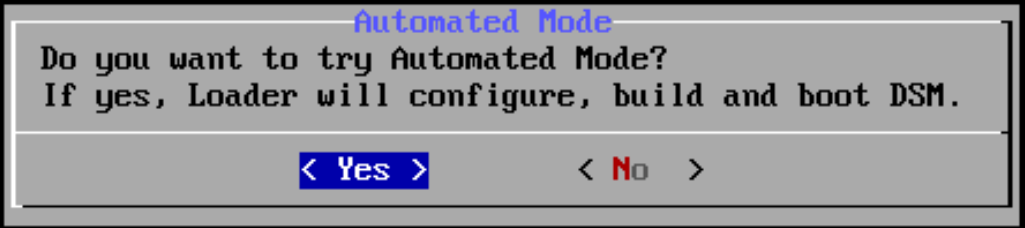
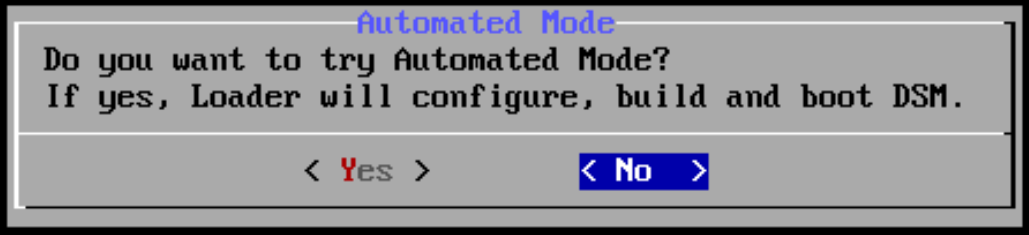
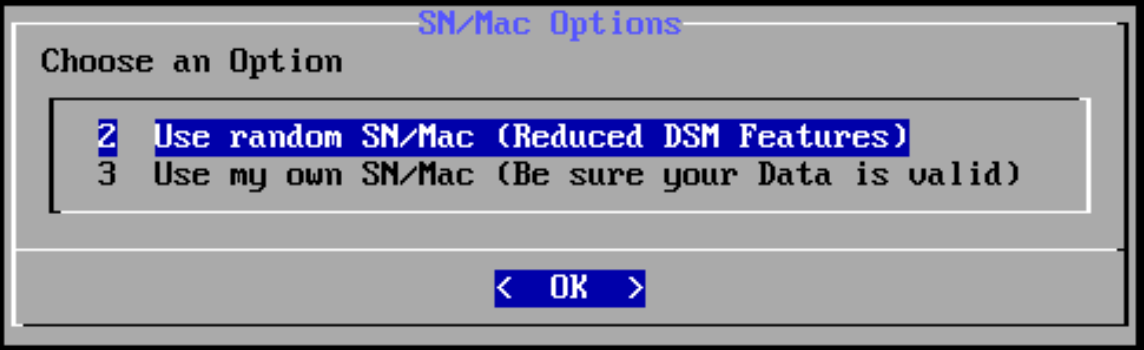
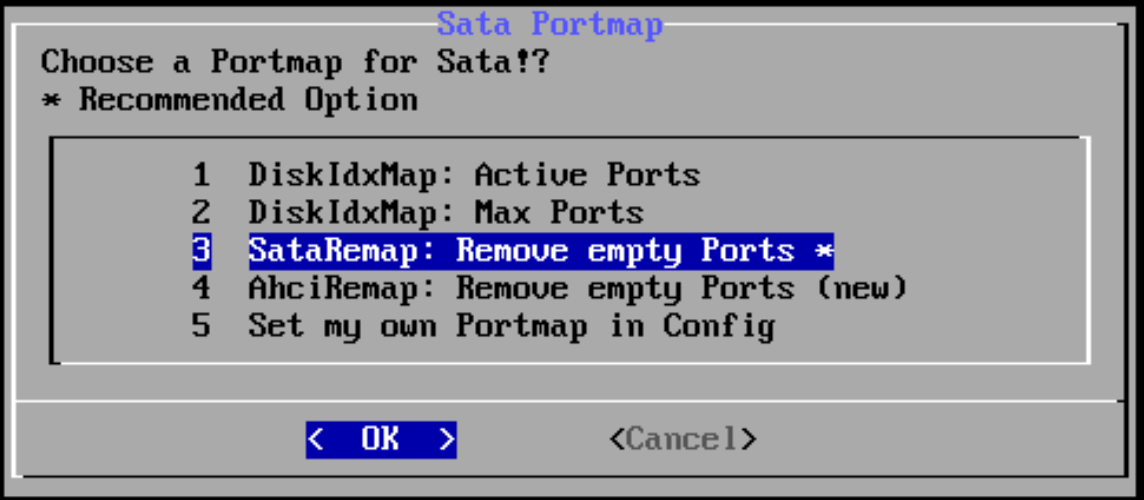
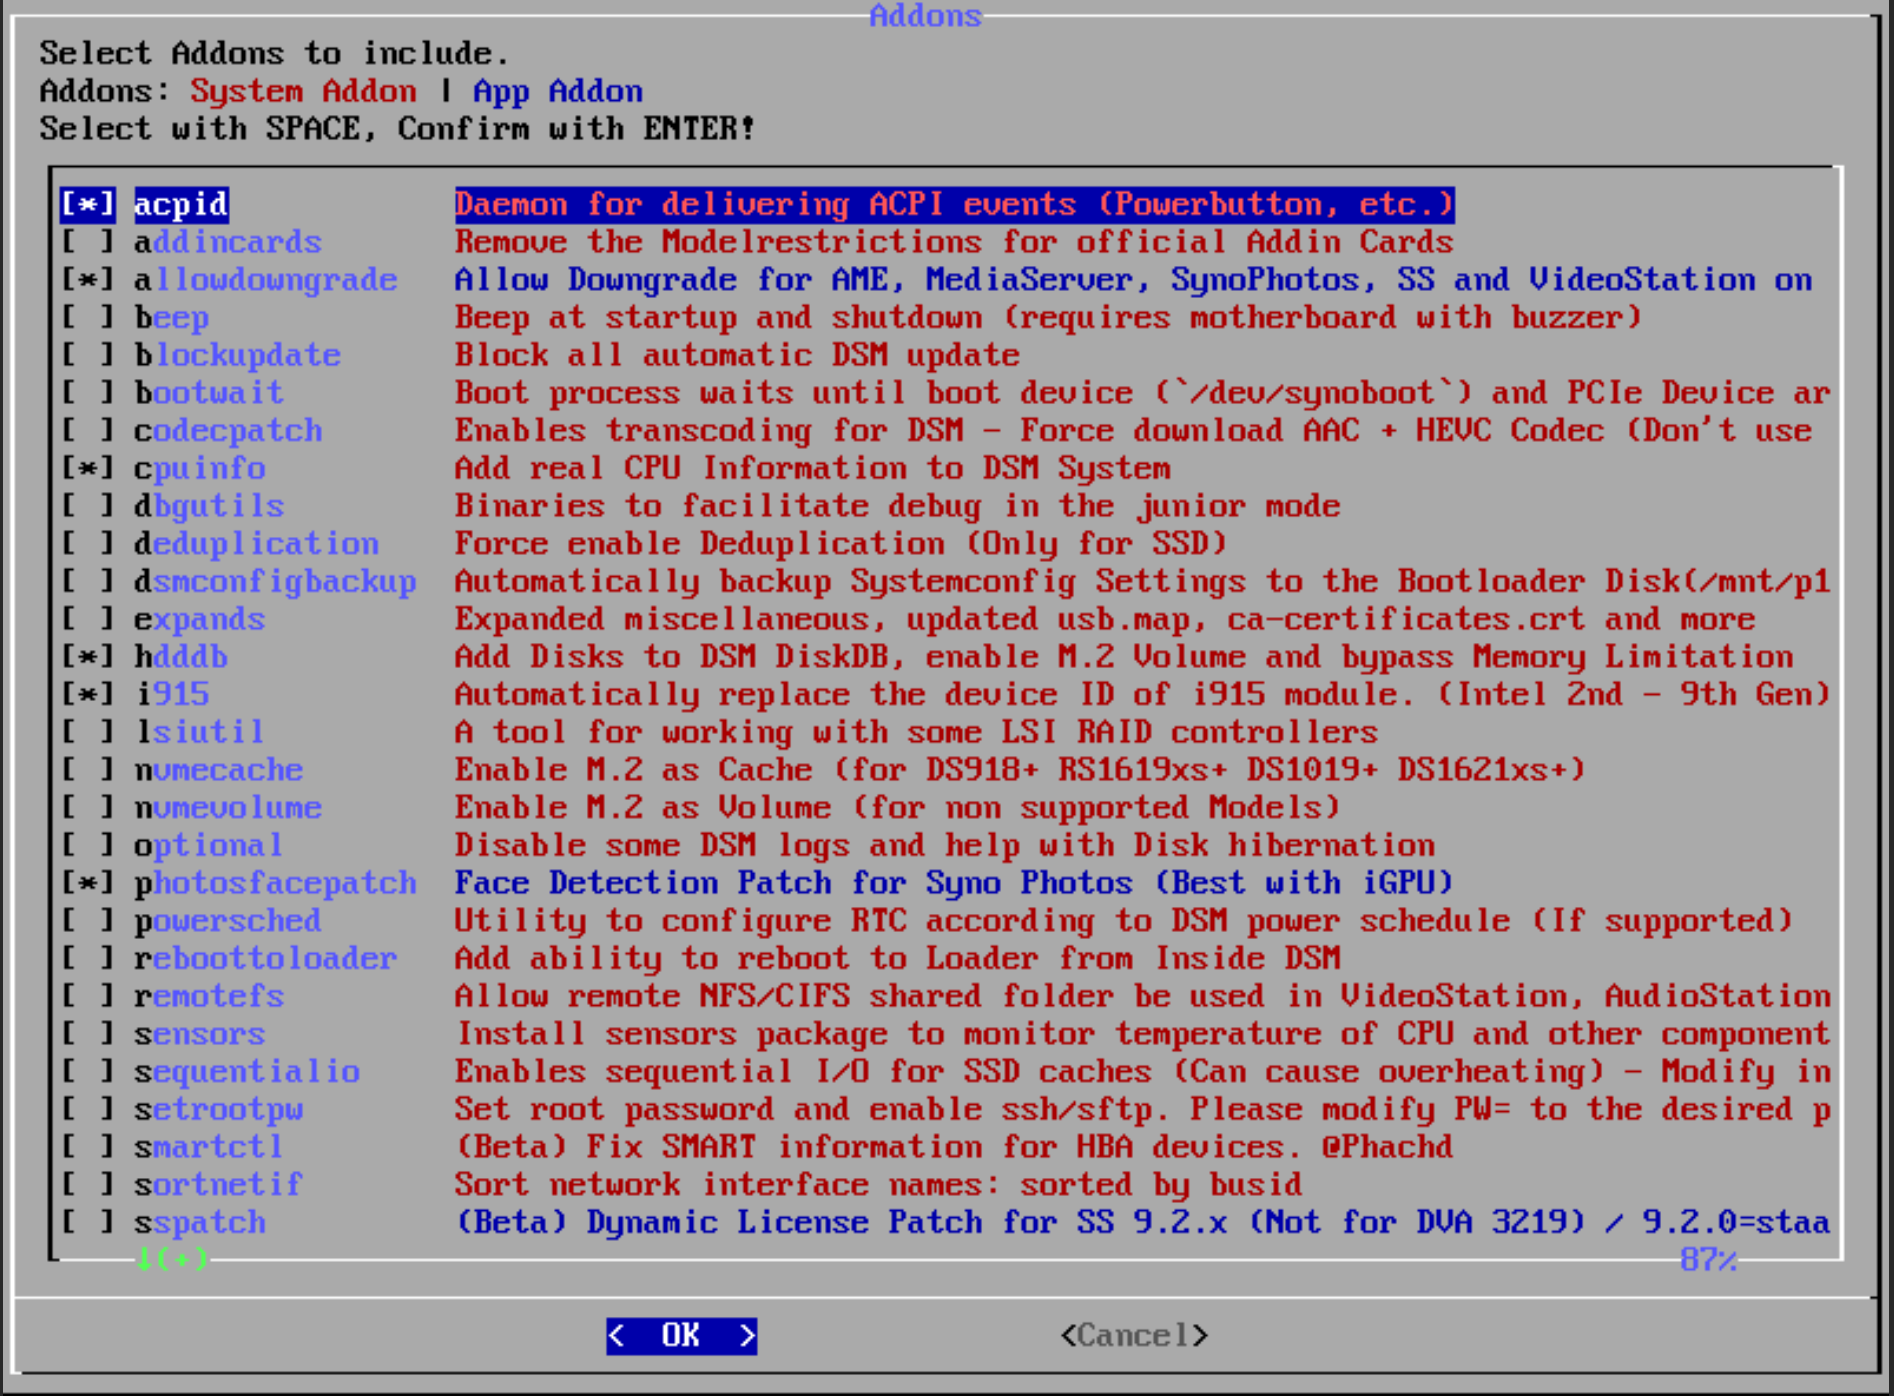
Select addons
This step lets you add extra features or custom configuration to the loader.
Arc offers an automatic mode (recommended) and a manual mode. In automatic mode the loader applies sensible defaults and reboots on its own when done.
If you pick manual, you step through the options one by one:
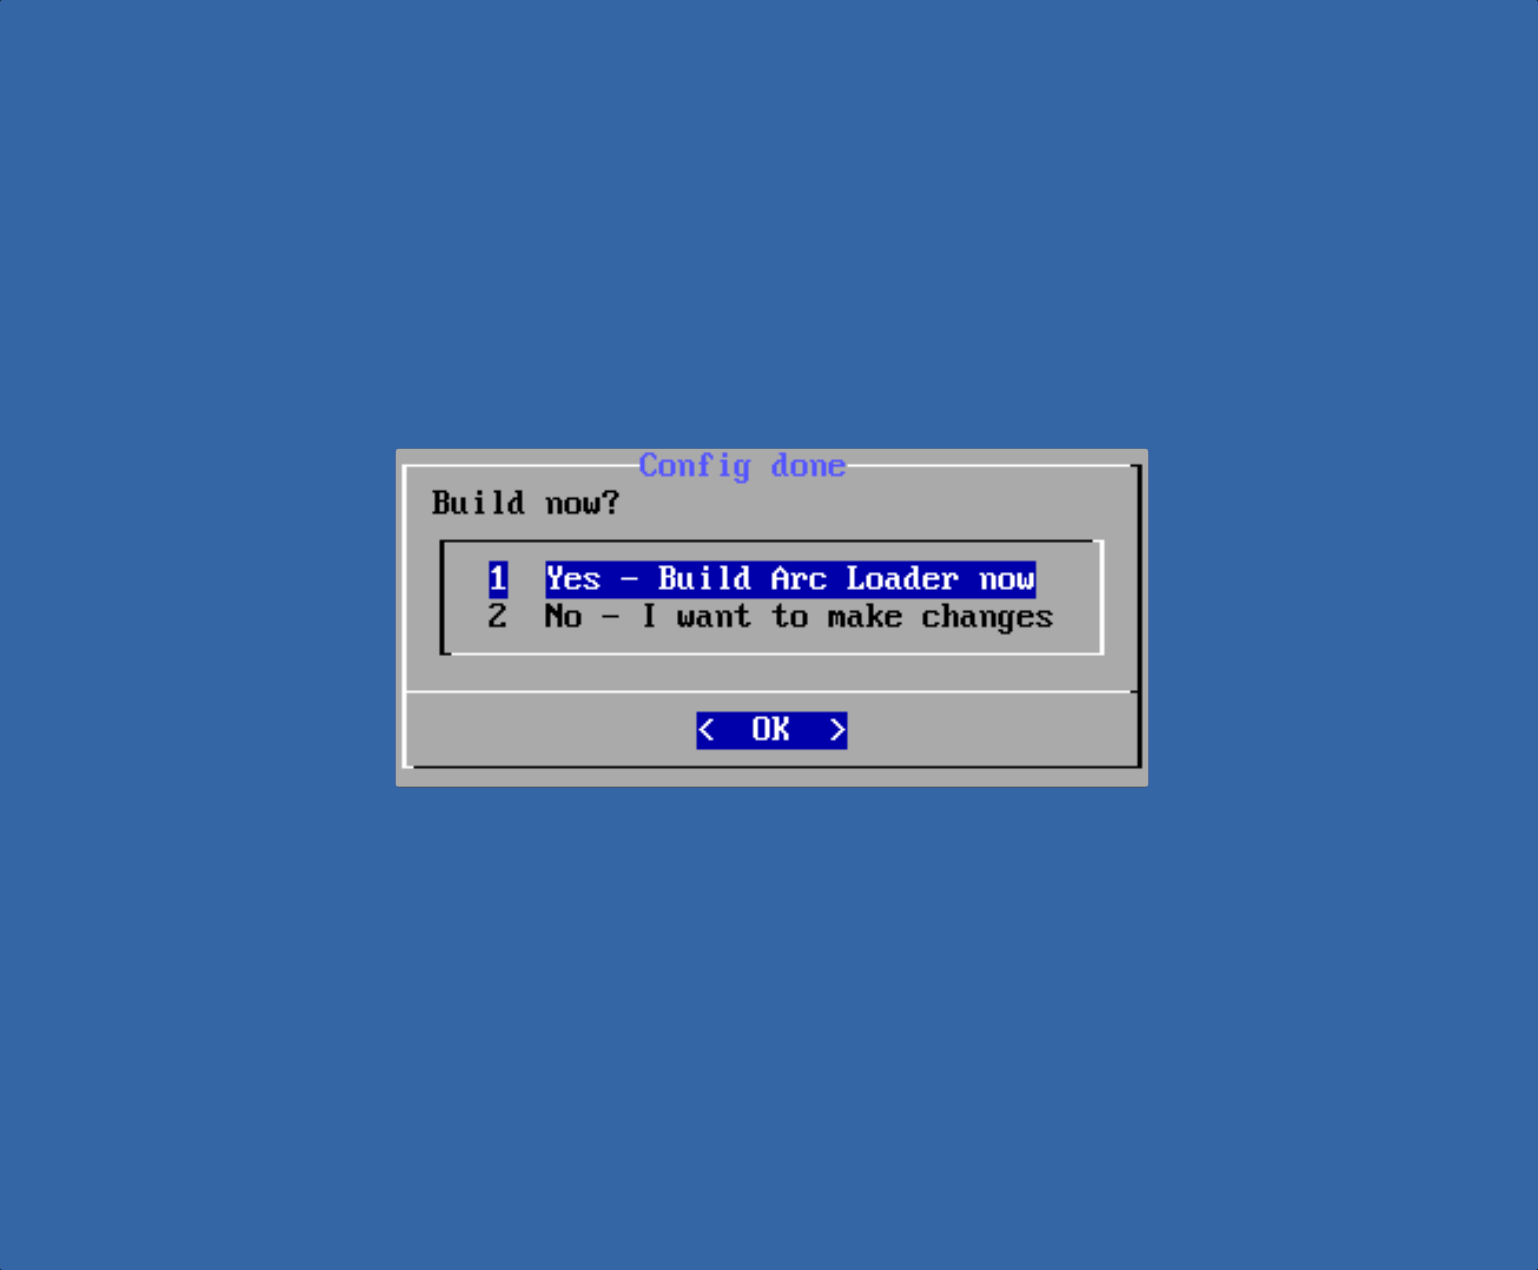
Build the loader
With the model, DSM version and addons chosen, pick Build the Loader. This can take a few minutes depending on the loader and the selected options.
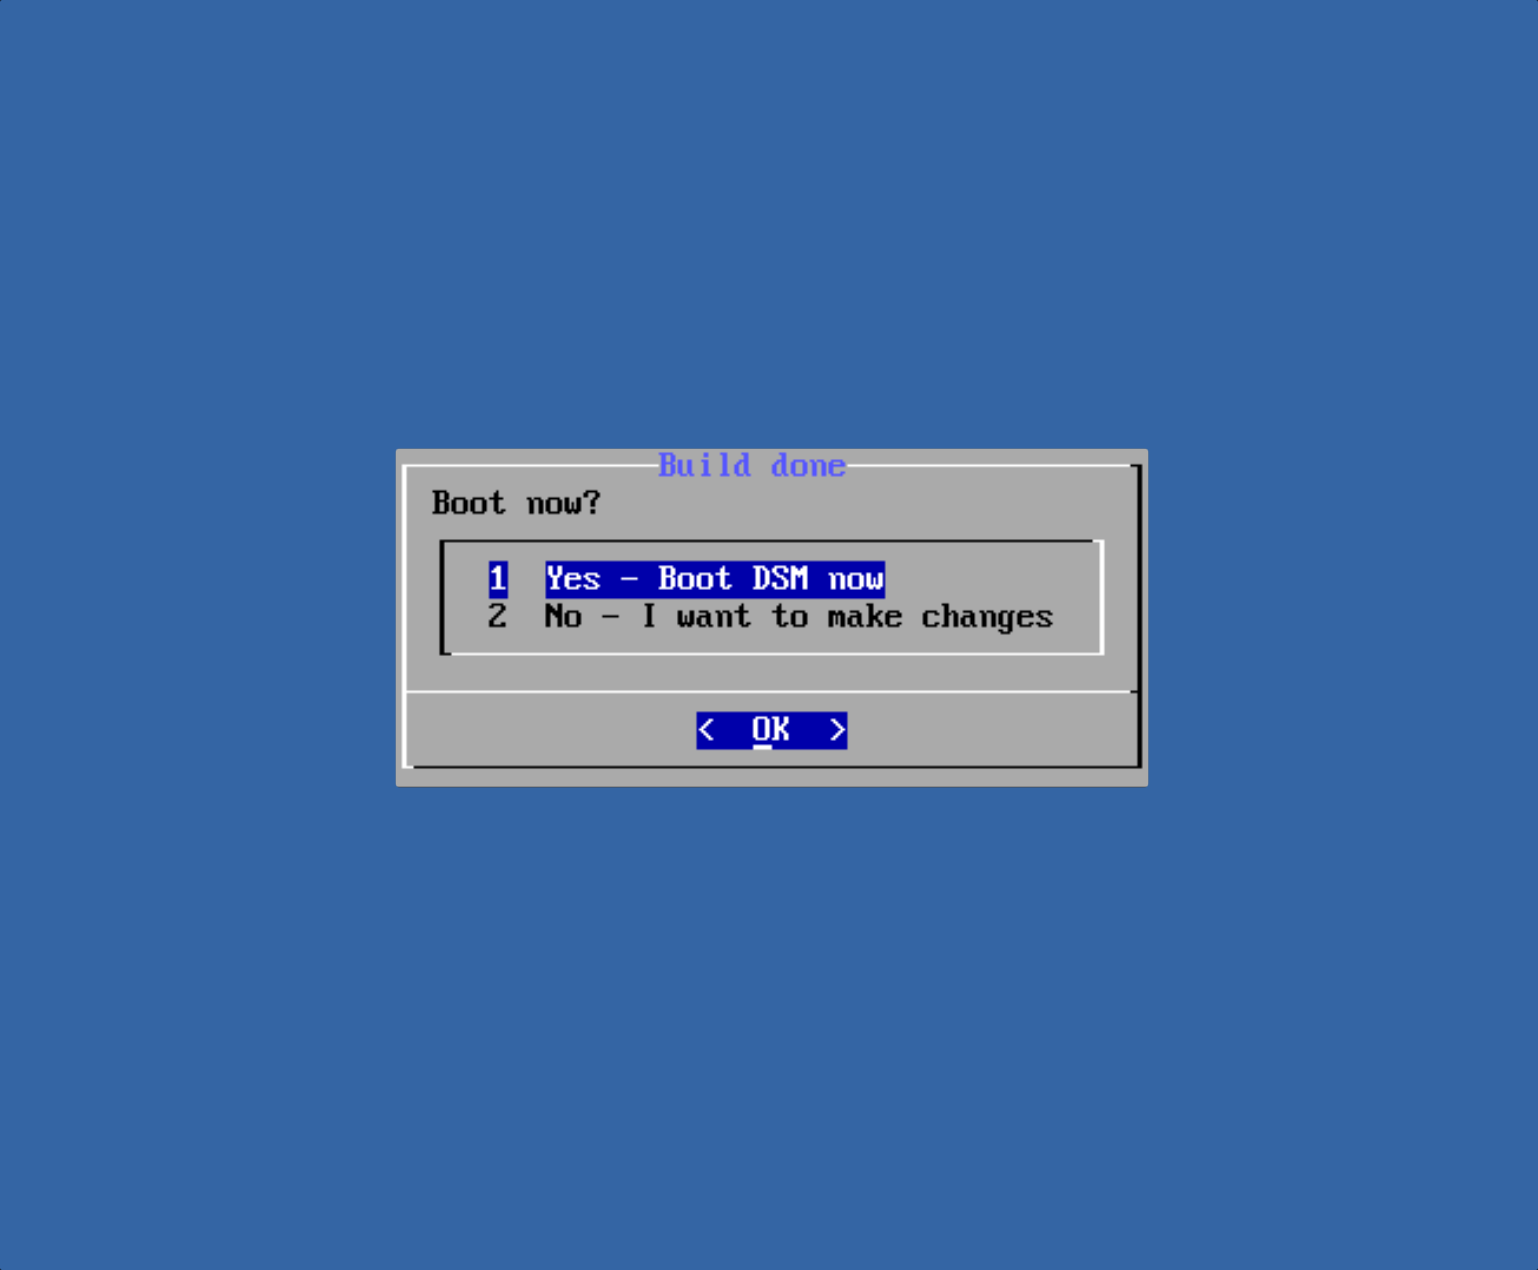
Boot the loader
Once the loader is built, the VM reboots with the configuration you created and DSM installation begins.
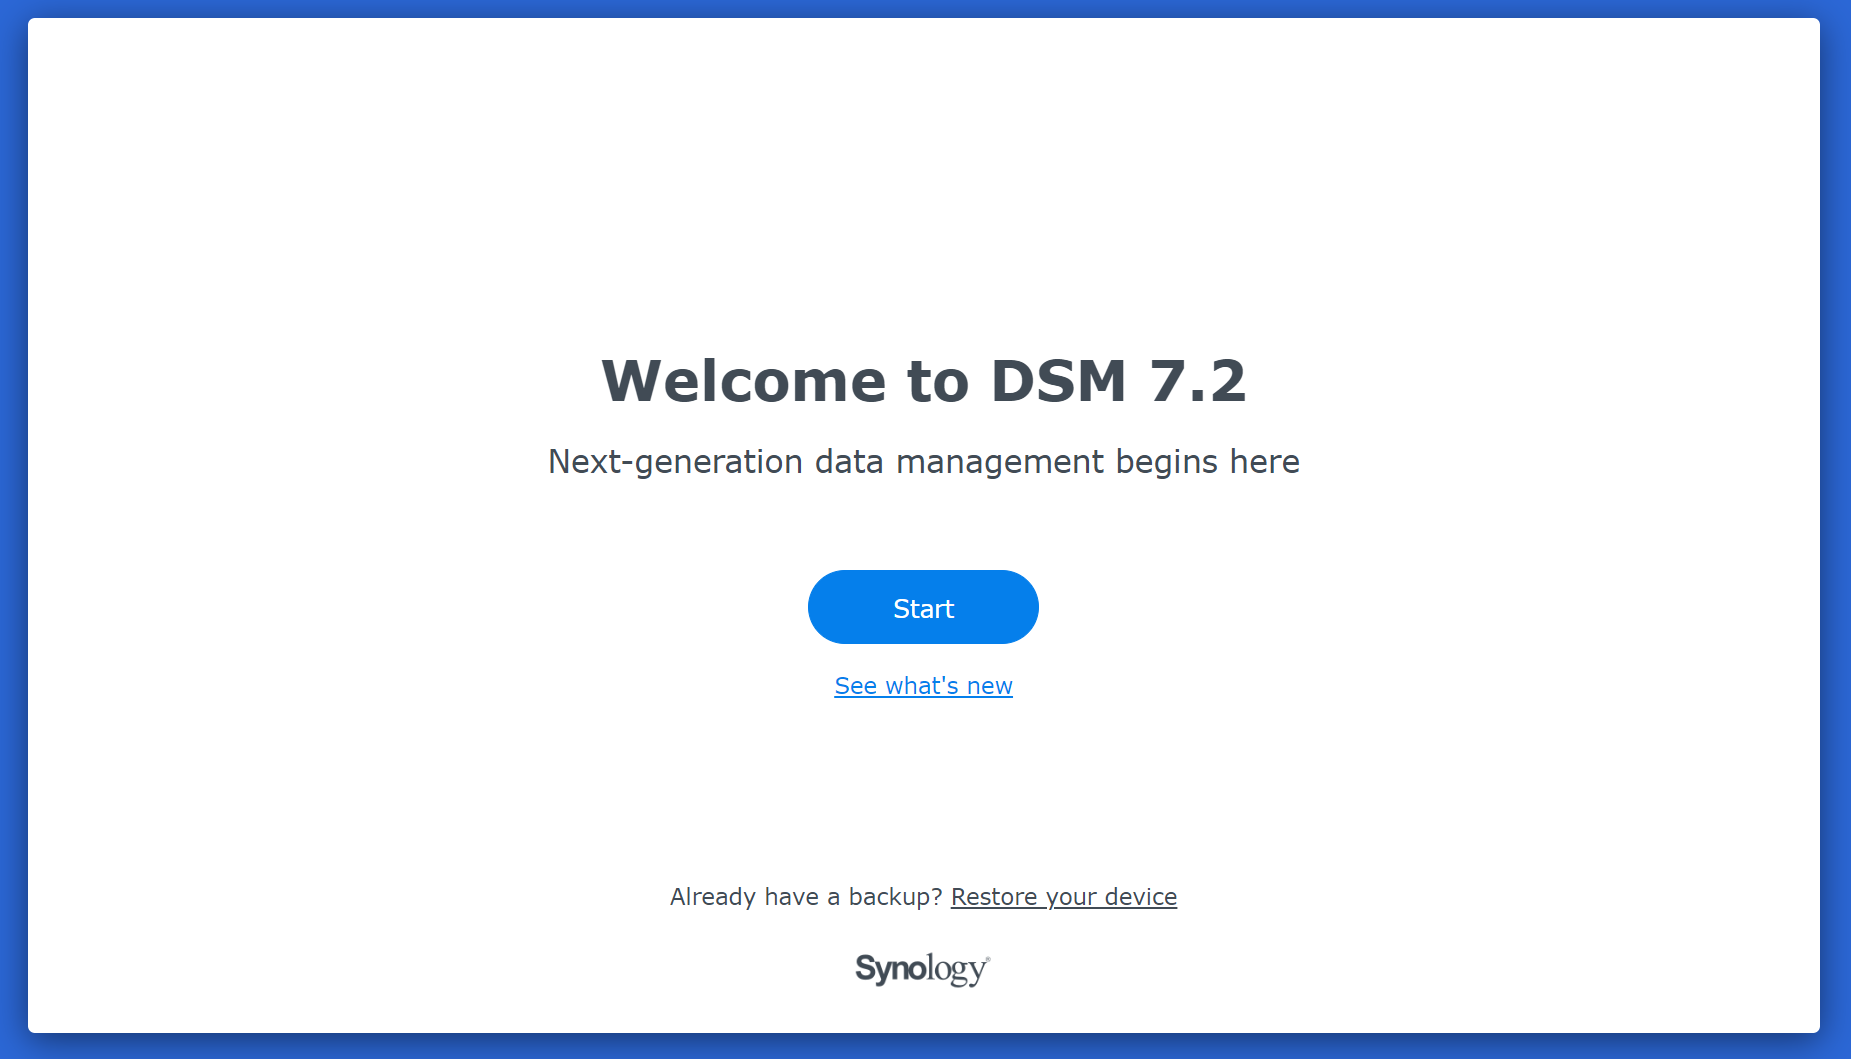
Starting the DSM installation
Once the loader has booted you can discover your DSM VM by opening:
https://finds.synology.comFollow the on-screen steps to complete the DSM installation.
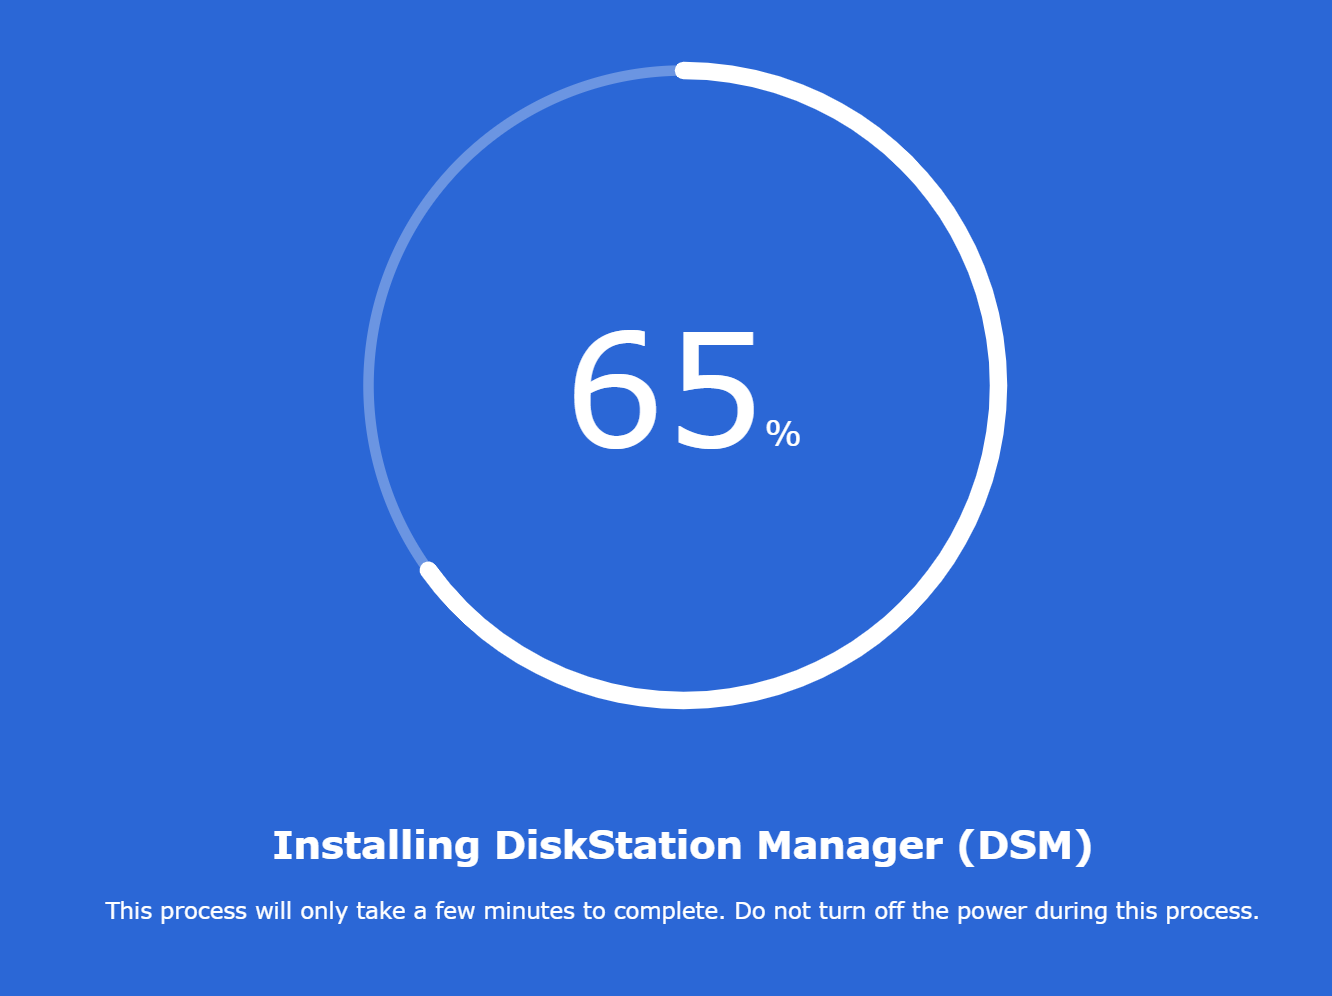
Be patient — the process can take several minutes. Progress updates automatically and a countdown appears as installation nears completion.
Tips
Use recent DSM models
Updating the loader
ProxMenux does not support the loaders
Loader documentation
Related
- System NAS overview — comparison of Synology vs TrueNAS / OMV / Rockstor / XigmaNAS.
- Other System NAS — non-Synology NAS distributions.
- Import Disk to VM — pass real disks to the Synology VM (recommended for storage performance).
- Create VM overview.